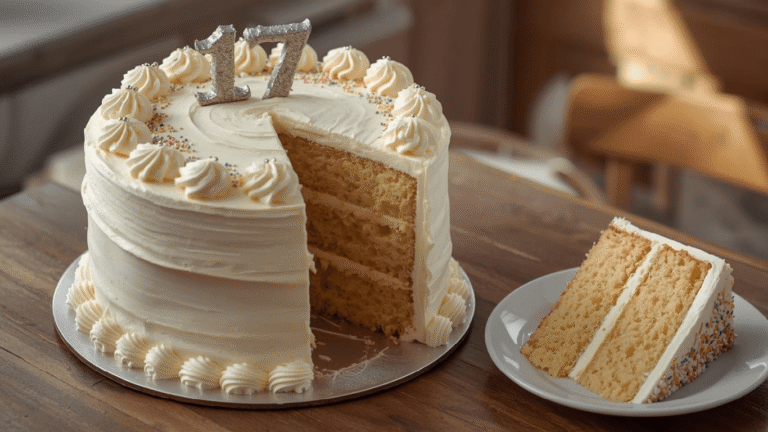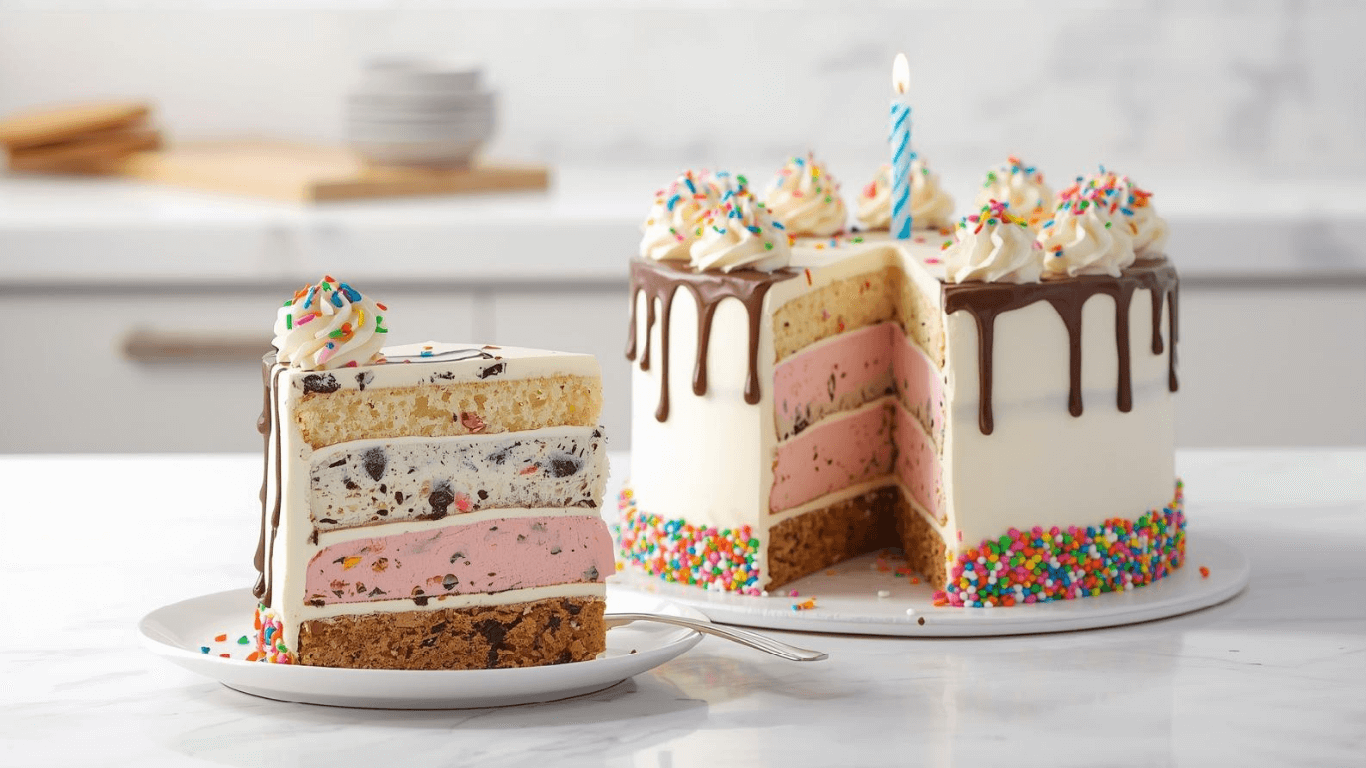
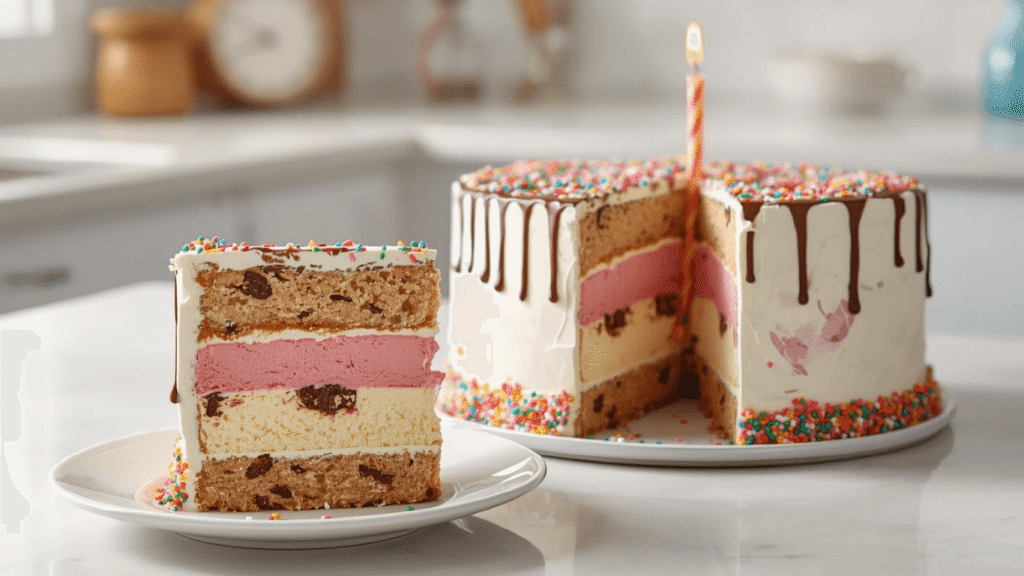
Ice Cream Cake: The Ultimate No-Bake Copycat Recipe
Why do we crave that specific Ice Cream Cake from the famous fast-food chain with the red logo? It isn’t just the ice cream; it is that legendary layer of chocolate cookie crunch hidden in the center. But did you know that commercial versions often utilize “frozen dairy dessert” instead of real ice cream to cut costs?
If you want the nostalgia of the classic crunch without the artificial fillers, this No-Bake Ice Cream Cake is your answer. By ditching the oven entirely and focusing on a compressed cookie crust and high-butterfat dairy, we create a dessert that is richer, sturdier, and arguably better than the original. This is the “copycat” method that prioritizes texture over baking skills.
Ingredients List
This version relies on the “Crunch Coat” technique rather than a sponge cake base.
- Chocolate Sandwich Cookies (Standard Package, approx. 36 cookies): You will use the whole cookie, filling and all. This provides the structural binding agent for the crust.
- Unsalted Butter (½ cup / 115g): Melted. This acts as the glue for the crust.
- Commercial Hot Fudge Sauce (1 jar / 12oz): Crucial. Do not use chocolate syrup. You need the density of fudge sauce (warmed slightly) to create the gooey interface between layers.
- Vanilla Ice Cream (1.5 quarts): Softened.
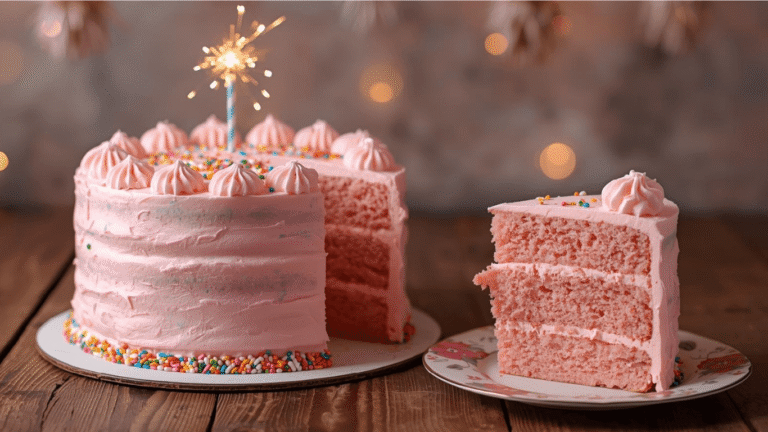
- Chocolate Ice Cream (1.5 quarts): Softened. Using two flavors creates the classic visual contrast.
- Whipped Topping (1 large tub) or Stabilized Whipped Cream: For the outer frosting. We recommend a stabilized whipped cream (cream + gelatin/powdered sugar) for a premium finish, but whipped topping works for the classic “DQ” taste.
- Vanilla Extract (1 tsp): To enhance the whipped layer.
Chef’s Note on Substitutions: Want a “Blizzard” effect? Chop up peanut butter cups or cookie dough chunks and fold them into the vanilla ice cream layer before spreading.
Timing
Because there is no baking, this recipe is all about assembly speed and freezing patience.
- Preparation Time: 30 minutes
- Freezing Time: 8 hours (divided)
- Total Time: 8 hours 30 minutes
Data Insight: By eliminating the baking and cooling step of a sponge cake, you reduce the risk of “thermal shock” (melting ice cream on warm cake) by 100%, making this the safest method for beginners.
Step-by-Step Instructions
Step 1: The Crust Engineering
Crush 2/3 of the cookies into fine crumbs (food processor recommended). Mix with the melted butter until it resembles wet asphalt. Press this firmly into the bottom of a 9-inch springform pan.
- Tip: Use the bottom of a flat glass to compress the crust. A loose crust will crumble when sliced. Freeze this base for 20 minutes.
Step 2: The Chocolate Foundation
Remove the chocolate ice cream from the freezer 15 minutes prior. Spread the softened chocolate ice cream over the frozen crust in a smooth, even layer. Return to the freezer for 1 hour.
- Why wait? If you don’t freeze between layers, the fudge layer we add next will mix with the ice cream, creating a muddy mess instead of a distinct strata.
Step 3: The “Crunch” Center
Warm the fudge sauce slightly (just enough to make it pourable, not hot). Pour over the frozen chocolate ice cream layer. Immediately sprinkle the remaining 1/3 of crushed cookies on top of the wet fudge. Gently press them down. Freeze for another 1 hour.
- The Science: The cold ice cream will seize the warm fudge almost instantly, cementing the cookies in place.
Step 4: The Vanilla Top
Spread the softened vanilla ice cream over the frozen fudge/cookie layer. Smooth the top perfectly flat. Cover with plastic wrap and freeze for at least 4 hours or overnight. This deep freeze is non-negotiable for structural integrity.
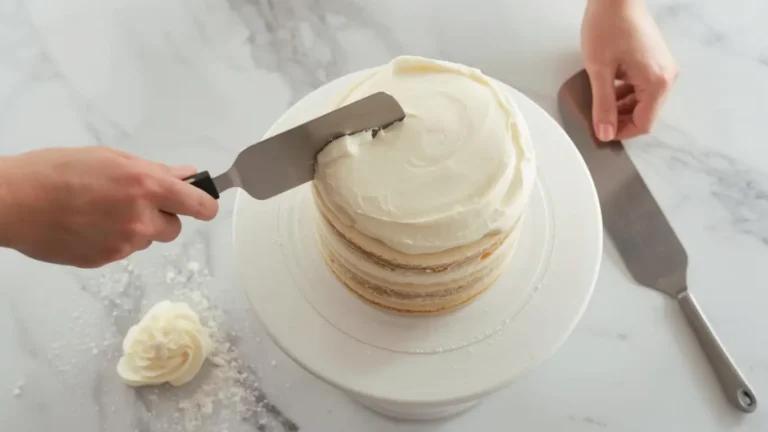
Step 5: The Frosting
Remove the cake from the springform pan. Run a hot knife around the edge if it sticks. Frost quickly with the whipped topping or whipped cream.
- Style Tip: Use a piping bag with a star tip to add a decorative border around the base and top edge to mimic the professional look.
Step 6: Final Hardening
Return the fully frosted cake to the freezer for a final 1-2 hours. This sets the frosting so it doesn’t smear when touched.
Nutritional Information
This is a calorie-dense dessert designed for small slices.
(Values are estimated per slice, based on 14 servings)
| Nutrient | Amount | Daily Value % |
|---|---|---|
| Calories | 460 kcal | 23% |
| Total Fat | 26g | 40% |
| Saturated Fat | 14g | 70% |
| Cholesterol | 55mg | 18% |
| Sodium | 240mg | 10% |
| Carbohydrates | 52g | 19% |
| Sugars | 38g | – |
| Protein | 5g | 10% |
Insight: While high in sugar, this version avoids the hydrogenated palm kernel oils found in many shelf-stable frosting commercial cakes.
Healthier Alternatives for the Recipe
How do we lighten up a heavy dessert like this?
- The “Nice Cream” Base: Substitute standard ice cream for blended frozen bananas (banana nice cream) or a coconut-milk-based dairy-free ice cream.
- Dark Chocolate Swap: Use 70% dark chocolate melted with a touch of coconut oil instead of jarred fudge sauce. This reduces sugar and adds antioxidants.
- Thin Crust: Use half the amount of cookies and butter for the crust. You still get the texture but reduce the caloric load of the base by 50%.
Serving Suggestions
- The “Mud Pie” Approach: Drizzle the plated slice with caramel sauce and a sprinkle of sea salt to cut the sweetness.
- Fruit Acid: Serve with fresh sliced strawberries. The acidity helps cleanse the palate from the heavy dairy and chocolate.
- Drink Pairing: A dark roast coffee or espresso is the perfect companion to balance the sugar intensity.
Common Mistakes to Avoid
- Using “Hard” Fudge:
- Mistake: Using a ganache that freezes solid.
- Result: You can’t cut the cake without smashing the layers.
- Fix: Stick to jarred fudge sauce or a recipe specifically designed to stay soft (using corn syrup or sweetened condensed milk).
- Rushing the Layers:
- Mistake: Adding the vanilla layer before the fudge is set.
- Result: The vanilla swirls into the fudge, destroying the visual layers.
- Fix: Respect the 1-hour freeze time between steps.
- Melting on the Counter:
- Mistake: Letting the ice cream get too soft before spreading.
- Result: Ice crystals form when it refreezes, creating a gritty texture.
- Fix: Soften just until spreadable (consistency of soft serve), not soupy.
Storing Tips for the Recipe
- Air-Tight is Right: Once the cake is frozen solid, wrap the entire thing (or remaining slices) in plastic wrap, then foil.
- Storage Duration: This no-bake version lasts longer than cake-based versions—up to 2 weeks in the freezer before flavor degradation occurs.
- Odor Absorption: Baking soda in the freezer is a must. Dairy absorbs freezer smells (like garlic) rapidly.
Conclusion
This No-Bake Ice Cream Cake is the ultimate hack for home cooks. It delivers the professional “crunch layer” experience without turning on the oven. It is impressive, nostalgic, and deliciously easy.
Skip the drive-thru queue. Make this legend at home! Leave a 5-star rating if you loved the crunch, comment with your variations, and subscribe for more copycat recipes.
FAQs
Q: Can I use homemade whipped cream? A: Yes, but you must stabilize it. Plain whipped cream will weep (separate) in the freezer. Whip 1 cup cream with 1 tbsp skim milk powder or gelatin for stability.
Q: How do I get clean slices? A: The hot knife trick is essential. Dip your knife in a pitcher of hot water, wipe dry, and slice. Repeat for every single cut.
Q: Can I make this in a standard cake pan? A: It is difficult to remove. If you don’t have a springform pan, line a standard pan with two layers of plastic wrap with plenty of overhang so you can lift the frozen cake out.
Your feedback helps other cooks succeed. Rate this recipe!
So Much Fun to Make With the Kids!
“This was the perfect birthday weekend activity. My kids loved being able to choose their favorite ice cream flavors and cookie mix-ins for the crust. The 6 steps were easy enough for them to follow along (with a little help on the hot fudge), and they felt so proud of the ‘cake’ they made themselves. It felt more special and personal than anything from a store. We’ve already decided to make a peppermint version for the holidays. Thank you for a guide that’s as much about the fun experience as it is about the delicious result!”
Great Concept, But Needs Critical Detail
“The idea of a 6-step ice cream cake is brilliant for home cooks, but as a frequent baker, I found the guide missed some key technical details that prevent disasters. Step 2 (‘Layer and Freeze’) needs a crucial warning: each layer must be frozen solid (at least 1-2 hours) before adding the next, or you’ll get a soupy, mixed mess. Also, a recommendation for the type of pan (springform is essential) and how to prevent the crust from getting soggy would elevate this from a good idea to a foolproof recipe. The foundation is fun, but precision is key with frozen desserts.”