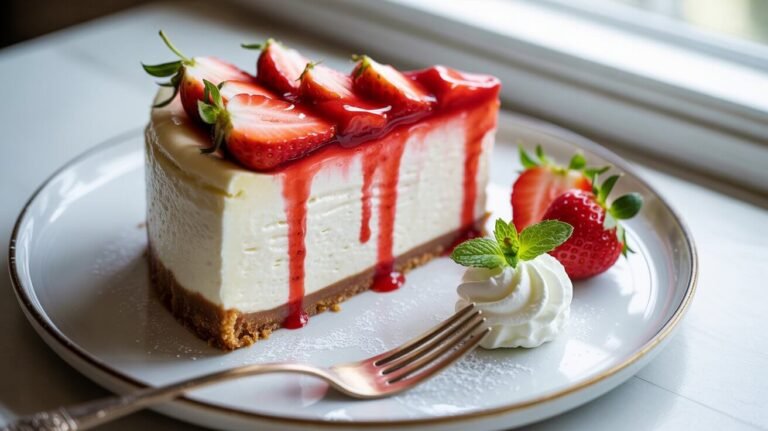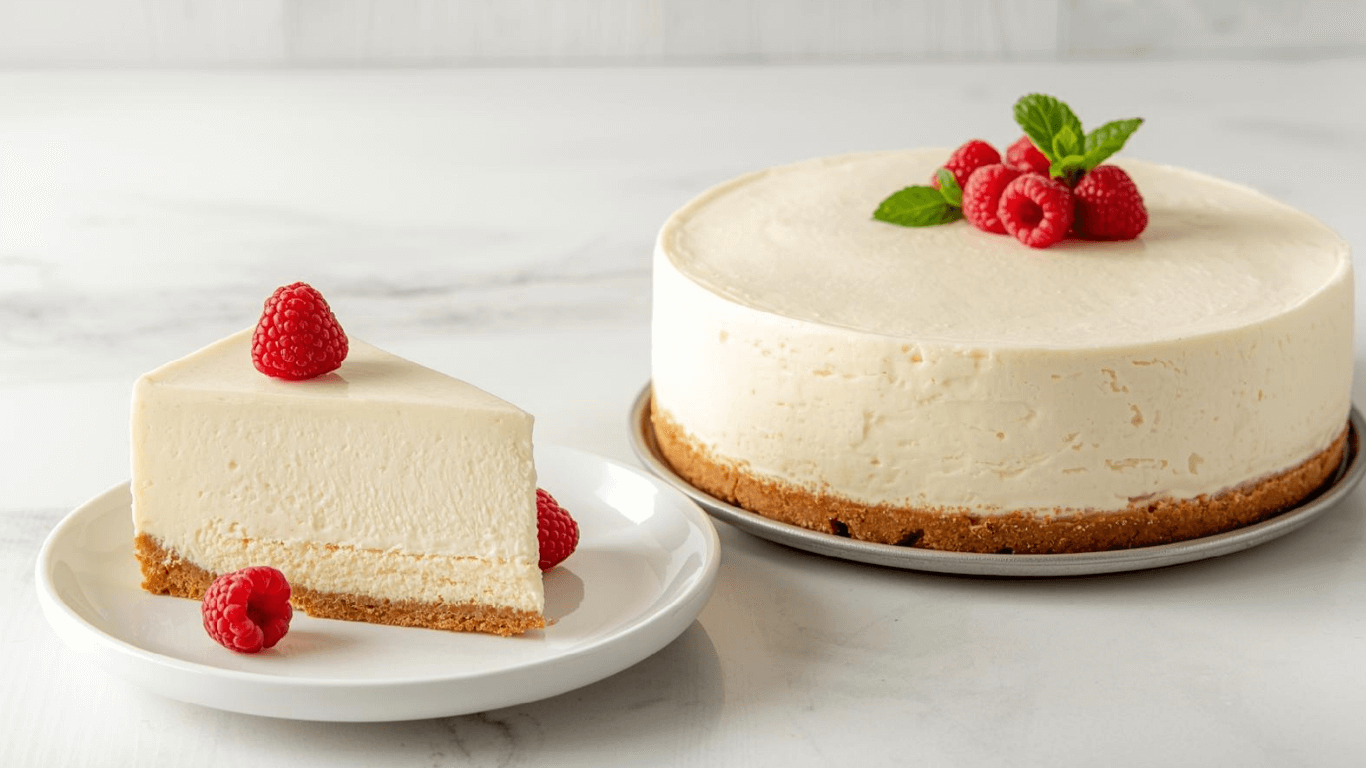
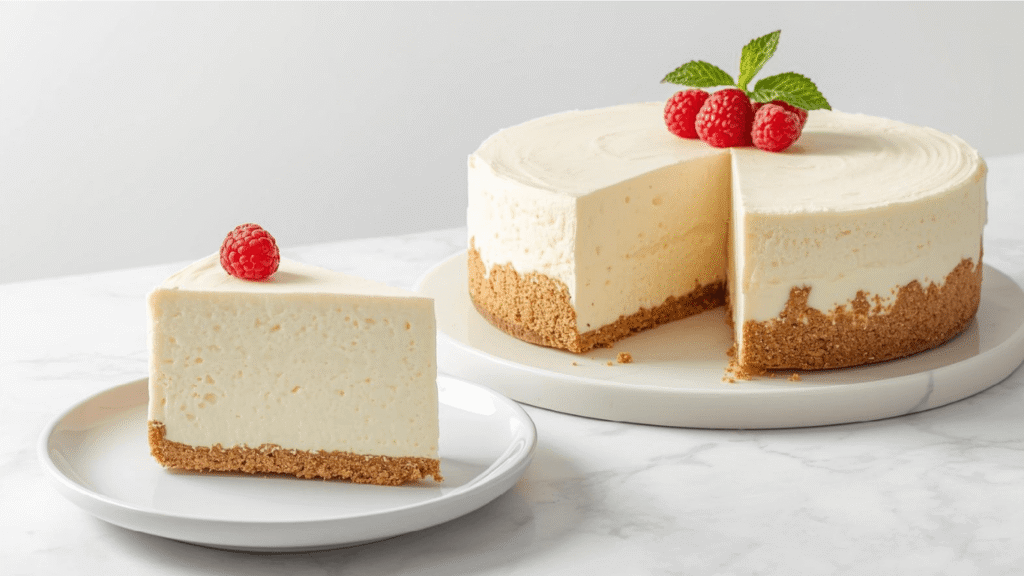
No Bake Cheesecake: The 3-Ingredient “Magic” Recipe
Why do condensed milk recipes consistently rank as the highest-rated desserts on community cooking sites? It comes down to texture. While many no-bake cheesecakes rely on whipped cream for fluffiness (resulting in a mousse-like consistency), there is a “secret” method that produces a dense, velvety slice indistinguishable from a New York baked version.
Enter the Condensed Milk No-Bake Cheesecake. By utilizing the chemical reaction between the acid in lemon juice and the casein proteins in sweetened condensed milk, we can achieve a firm, creamy set without using gelatin, eggs, or an oven. It is the science of “acid coagulation” at its most delicious. If you want a cheesecake that is rich, thick, and foolproof, this is the version for you.
Ingredients List
This recipe is famous for its simplicity, relying on the “Holy Trinity” of no-bake ingredients.
- Graham Cracker Crumbs (1 ½ cups / 225g): The classic crunchy base.
- Unsalted Butter (6 tbsp / 85g): Melted.
- Full-Fat Cream Cheese (16oz / 450g): Softened to room temperature. This is the bulk of the structure.
- Sweetened Condensed Milk (1 can / 14oz / 397g): The Secret Weapon. It provides sweetness, creaminess, and the proteins needed for thickening. Do not use “evaporated milk”—it will not work.
- Lemon Juice (⅓ cup / 80ml): Freshly squeezed. This is not just for flavor; it is the setting agent. The citric acid thickens the condensed milk instantly.
- Vanilla Extract (1 tsp): To round out the flavor.
Chef’s Note on Substitutions: For a “Key Lime” twist, simply swap the lemon juice for lime juice. The chemical setting process remains exactly the same.
Timing
This method is faster to assemble than the whipped cream version because there is no risk of “deflating” the mixture.
- Preparation Time: 15 minutes
- Chilling Time: 4 hours
- Total Time: 4 hours 15 minutes
Data Insight: This recipe reduces the ingredient count by 40% compared to standard baked cheesecakes and cuts the setting time down significantly compared to gelatin-based recipes.
Step-by-Step Instructions
Step 1: The Base Construction
Combine the graham cracker crumbs and melted butter in a bowl. Press the mixture firmly into the bottom and slightly up the sides of a 9-inch springform pan or pie dish.
- Technique Tip: Bake the crust for 5 minutes at 350°F (optional) if you want a toasted flavor, but chilling it for 20 minutes works perfectly for a truly no-bake experience.
Step 2: The Creaming Phase
In a stand mixer or large bowl, beat the room temperature cream cheese until it is completely smooth and airy (approx. 3 minutes).
- Why it matters: There is no sugar crystals to dissolve here, so we are purely looking for texture. If the cheese isn’t smooth now, it never will be.
Step 3: The Integration
Gradually pour in the can of sweetened condensed milk while beating on medium-low speed. Scrape down the sides of the bowl to ensure no blocks of cheese remain unmixed. The mixture will be glossy and liquid.
Step 4: The Thickening Reaction
With the mixer running on low, slowly pour in the lemon juice and vanilla. You will notice the mixture thicken immediately as the acid hits the milk proteins.
- The Science: This is similar to making fresh cheese. The acid causes the casein micelles to clump together, creating a stable gel network.
Step 5: The Pour
Pour the thickened filling into your prepared crust. Smooth the top with a spatula. It should already feel somewhat firm, not watery.
Step 6: The Chill
Cover loosely and refrigerate for at least 3 to 4 hours. Because this relies on chemical thickening rather than fat crystallization alone, it sets faster than mousse-style cheesecakes.
Nutritional Information
This version is denser and sugar-rich due to the condensed milk.
(Values are estimated per slice, based on 10 servings)
| Nutrient | Amount | Daily Value % |
|---|---|---|
| Calories | 410 kcal | 20% |
| Total Fat | 24g | 37% |
| Saturated Fat | 14g | 70% |
| Cholesterol | 65mg | 22% |
| Sodium | 280mg | 12% |
| Carbohydrates | 42g | 15% |
| Sugars | 32g | – |
| Protein | 7g | 14% |
Insight: While higher in sugar, this recipe provides more calcium per serving (approx 15% DV) than standard versions thanks to the concentrated milk content.
Healthier Alternatives for the Recipe
The condensed milk method is specific, but tweaks are possible:
- Low-Fat Condensed Milk: You can use fat-free sweetened condensed milk. The texture will be slightly less silky but will still set perfectly due to the protein content.
- Berry Swirl: Puree 1 cup of strawberries and swirl into the batter. The pectin in the fruit will actually help the set, allowing you to cut back slightly on the cheese volume.
- Gluten-Free Base: Use gluten-free ginger snaps or almond flour mixed with butter for the crust to make the entire dessert gluten-free.
Serving Suggestions
- Cherry Topping: The classic diner look. Top with canned cherry pie filling. The intense sweetness of the cherries matches the tang of the lemon-set filling.
- Citrus Zest: Garnish with copious amounts of fresh lemon or lime zest to signal the flavor profile to the palate before the first bite.
- White Chocolate Shavings: Use a vegetable peeler to shave white chocolate curls over the top for an elegant finish.
Common Mistakes to Avoid
- Using Evaporated Milk:
- Mistake: Confusing “Evaporated” with “Condensed.”
- Result: Soup. Evaporated milk lacks the sugar concentration required to hold the structure.
- Fix: Check the can label twice. It must be thick and sticky.
- Lumpy Cheese:
- Mistake: Using cold cheese.
- Result: Little white specs of unmixed cheese suspended in the smooth milk mixture.
- Fix: Microwave the cheese blocks for 15-20 seconds if you forgot to take them out.
- Not Enough Acid:
- Mistake: Reducing the lemon juice to reduce tartness.
- Result: The pie won’t set firmly.
- Fix: If you hate lemon, use a neutral acid blend or accept a softer, pudding-like texture.
Storing Tips for the Recipe
- Fridge Life: This cheesecake keeps beautifully for 5-7 days in the fridge. The high sugar content acts as a preservative.
- Freezing: Excellent for freezing. Wrap tightly and freeze for up to 1 month. Thaw for 20 minutes on the counter before eating for a “frozen cheesecake bar” texture.
- Surface Protection: Unlike baked cheesecakes, this doesn’t develop a “skin,” but covering it prevents it from absorbing fridge odors.
Conclusion
The Condensed Milk No-Bake Cheesecake is the secret weapon of busy hosts. It delivers the dense, creamy satisfaction of a baked cake with the ease of a stir-and-pour recipe. It is chemistry in a crust, and it works every time.
Try the magic method. You might never buy heavy cream for a cheesecake again. Comment below if you prefer this texture over the fluffy version, and subscribe for more kitchen science hacks!
FAQs
Q: Is it safe to eat without baking? A: Yes. All ingredients (pasteurized cheese, milk, butter) are safe to eat raw. There are no raw eggs in this recipe.
Q: Can I use bottled lemon juice? A: You can, but the flavor will be flatter. However, the acidity level in bottled juice is consistent, so it will actually set the cheesecake very reliably.
Q: Why is my cheesecake soft? A: You likely didn’t chill it long enough, or you used “Light” cream cheese which has more water. For this specific recipe, full-fat brick cheese is essential for the firmest set.
Your feedback helps other cooks succeed. Rate this recipe!
My First Cheesecake Success!
“As someone who is terrified of baking and water baths, this no-bake guide was a dream come true. The 6 steps were perfectly logical and easy to follow. I especially appreciated the tip about making sure the cream cheese was truly at room temperature—it made the filling so smooth and lump-free! I made it for a family BBQ, and everyone raved about the creamy texture and perfect crust. It felt incredibly fancy, but the process was completely stress-free. This recipe is now a permanent staple in my dessert rotation.