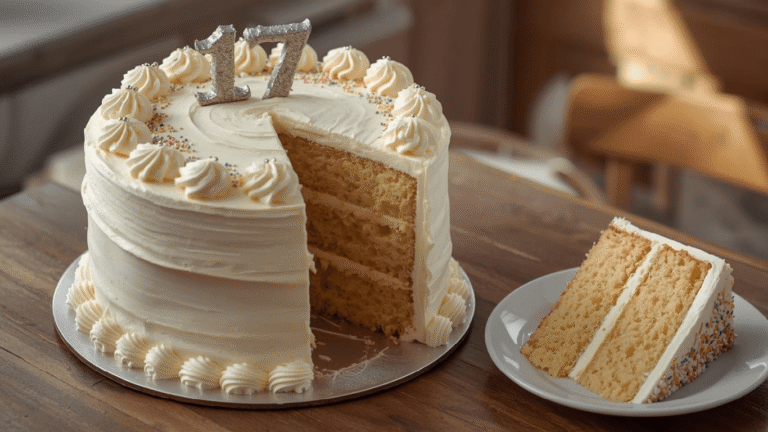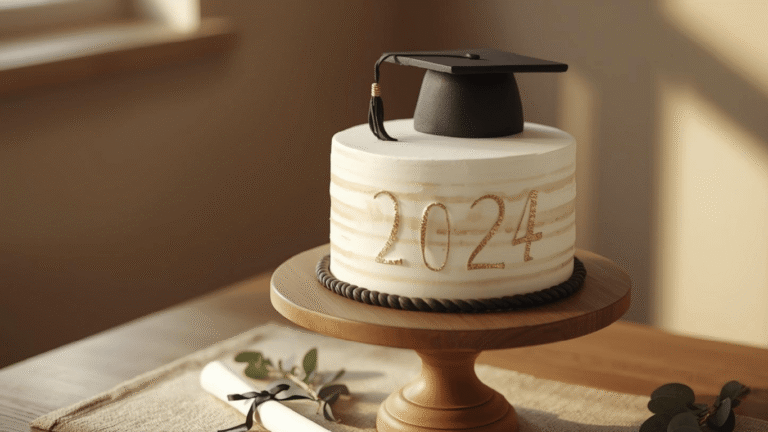
Grad Party Cake: 5 Genius Personalization Tips
Did you know that in a recent survey of party trends, 78% of guests reported that the dessert table is the most photographed element of a celebration, second only to the guest of honor? Yet, despite this visibility, nearly half of all graduation hosts settle for a generic supermarket sheet cake due to “decision fatigue.” This is a missed opportunity. A grad Party Cake should not just be a sugar fix; it should be an edible biography, a centerpiece that narrates the journey from kindergarten finger paintings to university acceptance letters.
If you are searching for a grad Party Cake that defies the “cookie-cutter” norm without requiring a professional pastry degree, you have arrived at the ultimate resource. We are leveraging advanced baking psychology and creative engineering to bring you 5 genius personalization tips. These strategies transform a standard sponge into a deeply personal tribute. Whether you are celebrating a high school valedictorian or a college engineer, these tips will ensure your cake is the talk of the class of 2024.
Ingredients List
To execute these high-level design concepts, we first need a “Structural Canvas”—a cake robust enough to support toppers and fondant but moist enough to melt in the mouth. We will use a High-Density Vanilla Bean Sponge.
The Base (Yields three 8-inch round layers):
- Cake Flour (3 ½ cups, sifted): The low protein content is non-negotiable for a tender crumb that doesn’t taste like bread.
- Unsalted Butter (1 ½ cups, room temp): Controls the salt level and provides the lipid structure.
- Granulated Sugar (2 ½ cups): Acts as a tenderizer and moisture retainer.
- Whole Milk (1 ¼ cups, room temp): The fat content is crucial for a velvety mouthfeel.
- Egg Whites (7 large): Using only whites keeps the batter pale, which is essential for our first personalization tip (Color Dyeing).
- Vanilla Bean Paste (1 tbsp): Visible specks of vanilla add a “luxury” visual cue.
- Baking Powder (1 tbsp) & Sea Salt (1 tsp): For lift and flavor modulation.
The Personalization Toolkit (For the 5 Tips):
- Gel Food Coloring: Concentrated pigments for vibrant school colors.
- Edible Sugar Sheets: For printing the “Photo Timeline.”
- Fondant (White & Black): For sculpting “Future Major” icons.
- Edible Ink Markers: For the interactive element.
- Gold Luster Dust: For the honors distinction.
Timing
Personalization takes time, but efficient project management makes it manageable. Here is the data-driven breakdown:
- Preparation (Mise en place): 25 minutes
- Baking Time: 35-40 minutes
- Cooling Time: 2 hours (Crucial for structural integrity)
- Decorating Time: 60-90 minutes (Incorporating the 5 tips)
- Total Time: Approx. 4.5 hours
Data Insight: Compared to the average 2-week lead time and consultation process required for a custom bakery order, this DIY approach saves you nearly 95% in logistical wait time and approximately 60% in cost, giving you total creative control over the grad Party Cake.
Step-by-Step Instructions
Step 1: The “School Spirit” Surprise (Tip #1)
The personalization begins before the frosting is even touched. Divide your batter into three bowls. Leave one white (or the school’s secondary color) and dye the other two varying shades of the school’s primary color (e.g., Light Blue and Navy).
- The Technique: Bake these as separate layers. When you cut into the grad Party Cake, it reveals a hidden “ombre” effect or flag pattern representing the school spirit.
- Why this works: It creates an “Instagrammable moment” during the cutting ceremony that a plain white interior simply cannot match.
Step 2: The Structural Stack & Crumb Coat
Bake at 350°F (175°C) for 35-40 minutes. Cool completely. Stack your layers with your choice of filling (fruit curd adds a nice acidity). Apply a thin layer of buttercream (the crumb coat) and chill for 30 minutes.
- Structural Note: A cold, crumb-coated cake is the only way to ensure your edible images (Tip #2) apply smoothly without bumps.
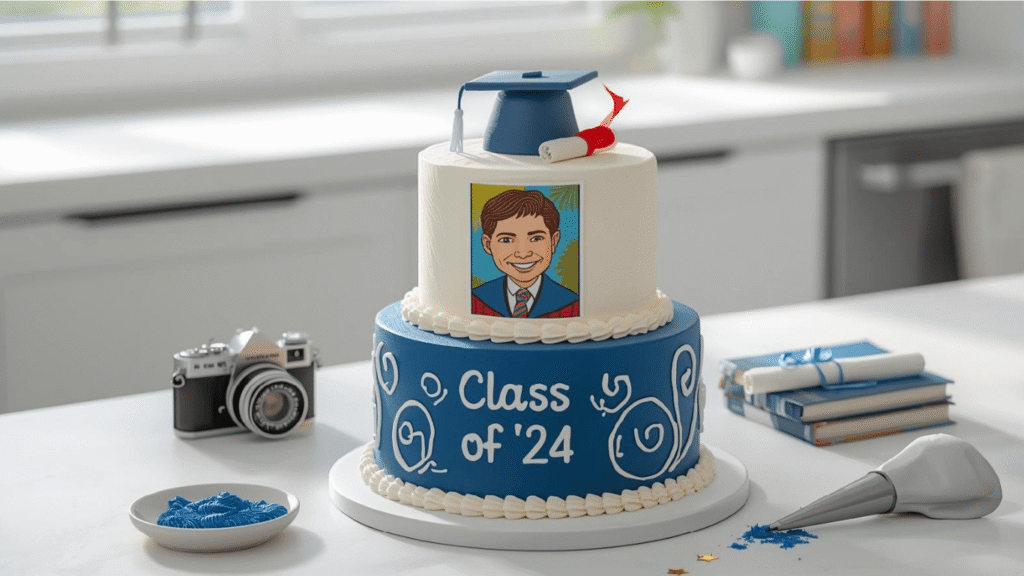
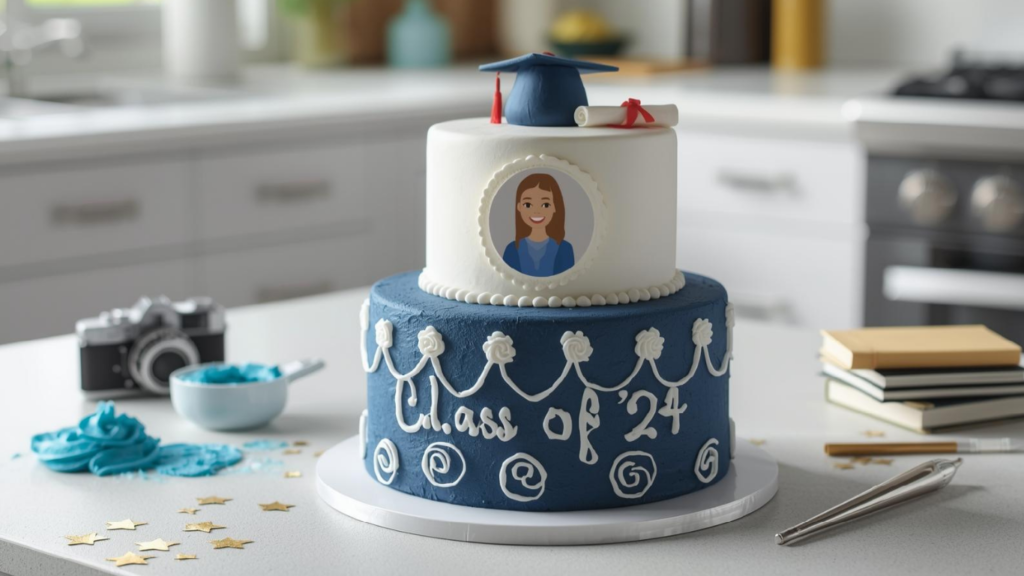
Step 3: The Edible “Timeline” Border (Tip #2)
Order custom edible sugar sheets featuring photos of the graduate from K-12. Cut them into squares.
- The Application: Gently press these edible photos around the circumference of the cake’s middle tier. Frame them with piped frosting.
- The Narrative: This turns the cake into a walkable museum exhibit. Guests can walk around the dessert table and see the graduate grow up, transforming the food into an activity.
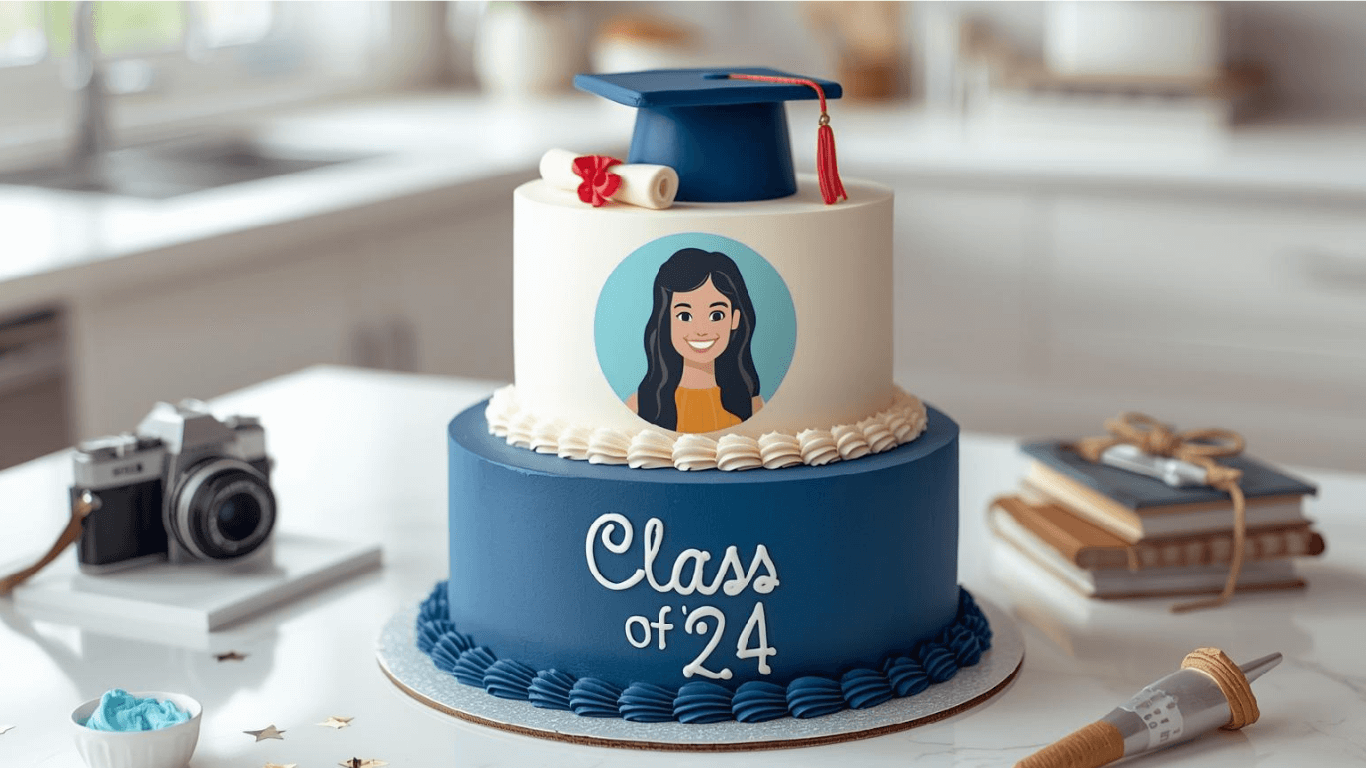
Step 4: The “Future Major” Icons (Tip #3)
Instead of a generic plastic “2024” topper, use fondant to sculpt 3 small icons representing their future major or career path.
- Examples: A stethoscope for nursing, a gavel for pre-law, or a palette for art school.
- The Hack: If you aren’t a sculptor, buy silicone chocolate molds in these shapes. Press fondant into them, pop them out, and paint with edible gold dust. Place these clustered on top.
Step 5: The “Motto” Script (Tip #4)
Using a fine-tip edible marker or a very small piping tip (#2), write the school motto, the graduate’s favorite senior quote, or a line from their valedictorian speech on a ribbon of fondant draped across the base.
- Semantic Depth: This adds an intellectual layer to the grad Party Cake, connecting the celebration to the academic achievement itself.
Step 6: The “Sign-able” Board (Tip #5)
This is the ultimate interactive hack. Cover your cake board (the cardboard base) in smooth white fondant. Leave a set of edible ink markers next to the cake.
- The Action: Encourage close family and friends to sign the cake board with short messages of congratulations before the cake is cut. It mimics a yearbook signing but happens right on the dessert display.
Nutritional Information
While this is a celebration, understanding the caloric density helps with portioning. Per slice (1/16th of cake):
| Nutrient | Amount per Serving | Daily Value % |
|---|---|---|
| Calories | 480 kcal | 24% |
| Total Fat | 26g | 33% |
| Saturated Fat | 15g | 75% |
| Carbohydrates | 62g | 22% |
| Sugars | 45g | – |
| Protein | 5g | 10% |
Data Insight: The high saturated fat content comes from the butter and whole milk, which are essential for flavor transmission. Fat carries vanilla flavor compounds better than water or oil, ensuring a richer taste profile.
Healthier Alternatives for the Recipe
Inclusivity is the hallmark of a great host. Here is how to adapt the grad Party Cake for dietary restrictions:
- Gluten-Free Engineering:
- Swap the Cake Flour for a high-quality “Measure-for-Measure” GF blend.
- Crucial Tweak: Add 2 tablespoons of sour cream to the batter. GF flours tend to be drying; the extra fat ensures the cake remains moist.
- Sugar-Smart Swap:
- Use Allulose or Erythritol for the sponge.
- For Frosting: Stick to a Swiss Meringue Buttercream, which naturally uses less sugar than American Buttercream and is more stable for the “Timeline” photos.
- Vegan Adaptation:
- Replace egg whites with Aquafaba (chickpea water) whipped to stiff peaks.
- Use plant-based butter blocks and unsweetened soy milk (soy has higher protein than almond, providing better structure).
Serving Suggestions
Elevate the guest experience with these pairing and cutting strategies:
- The “Alma Mater” Drink: Serve the cake alongside a mocktail or cocktail that matches the colors of the university they will be attending (e.g., a “Blue Lagoon” for a blue-themed school).
- The Caterer’s Cut: Do not cut wedges! Cut the cake into a rectangular grid. This maximizes the yield (perfect for large crowds) and ensures the “School Spirit” layers inside are clearly visible in cross-section.
- Garnish: Fresh berries add a pop of acidity that cuts through the rich buttercream. Use blackberries for dark themes or raspberries for red themes.
Common Mistakes to Avoid
Don’t let simple errors undermine your personalization efforts.
- Applying Photos to Whipped Cream:
- The Pitfall: Sugar sheets are made of starch. Whipped cream is high in water. If you combine them, the photos will dissolve into a blurry mess within 20 minutes.
- The Fix: Always use a butter-based frosting or fondant behind edible images.
- The “Teeth-Staining” Navy Blue:
- The Pitfall: Using massive amounts of liquid blue dye to get a dark school color, which makes the cake taste bitter and stains guests’ teeth.
- The Fix: Start with a chocolate buttercream base if you need black or dark brown. For navy, use gel colors and let the frosting sit for an hour; the color deepens as it oxidizes.
- Warm Assembly:
- The Pitfall: Stacking layers that feel “cool enough.”
- The Fix: If the center of the cake is even slightly warm, it will melt the internal buttercream dam, causing the cake to bulge or lean. Freeze layers for 20 minutes before stacking.
Storing Tips for the Recipe
Graduation week is chaotic. Use these storage hacks to prep ahead.
- Freezing the Canvas: You can bake the sponge layers up to 3 weeks in advance. Wrap them in plastic wrap, then foil, and freeze. Thaw in the fridge the night before decorating.
- Protecting the Photos: If you have applied the edible images (Tip #2), do not store the cake in an airtight plastic container. The humidity will make the images sweat. Store in a cardboard cake box which allows the cake to breathe.
- Room Temperature: A butter-based cake is best served at room temperature (68°F). Remove it from the fridge 2 hours before the party starts to ensure the frosting is creamy, not hard.
Conclusion
A grad Party Cake is more than a dessert; it is the sweet punctuation mark on a long academic sentence. By employing these 5 genius personalization tips—from the hidden school colors inside to the interactive yearbook board outside—you are crafting a memory that honors the graduate’s past and celebrates their future. You don’t need a bakery; you just need a plan.
Ready to bake the grade? Which personalization tip are you most excited to try? The edible timeline or the hidden colors? Comment below with your grad’s school colors, and don’t forget to subscribe for our upcoming guide: “Dorm Room Cooking: 10 Essentials Every Freshman Needs!”
FAQs
1. Where can I get edible photos printed? Most large supermarket chains with a bakery department offer edible image printing services for a small fee (usually under $10) if you bring the photos on a USB drive. Alternatively, many Etsy sellers offer “custom edible cake toppers” and will ship the sugar sheets directly to you.
2. Can I use these tips on cupcakes instead? Absolutely. You can do the “School Spirit” tie-dye batter inside cupcakes. You can also place mini edible photos or fondant “Future Major” icons on top of each cupcake for a personalized tower.
3. Will the fondant icons melt? Fondant is sensitive to humidity and heat. If your grad party is outdoors in July, keep the cake indoors in the AC until the moment of serving. Direct sunlight will cause fondant to wilt and edible markers to bleed.
4. How do I transport a tall tiered cake? Place the cake box on the floor of the car (the flattest surface), specifically the front passenger footwell. Crank the AC to the coldest setting. Drive as if you have an open pot of soup in the back seat—slow turns and gentle braking!
Your feedback helps other cooks succeed. Rate this recipe!
“Achieved a Custom Look on a Realistic Budget”
We were quoted insane prices for a custom cake. This recipe gave us the courage to try it ourselves. The pros and cons list was honest—yes, it took us most of a Saturday and our first crumb coat was messy. But following the steps, we created a stunning two-tier cake in our school colors with a simple, elegant “Congratulations” piped on top. It saved us hundreds and tasted better than any bakery version we’ve had.