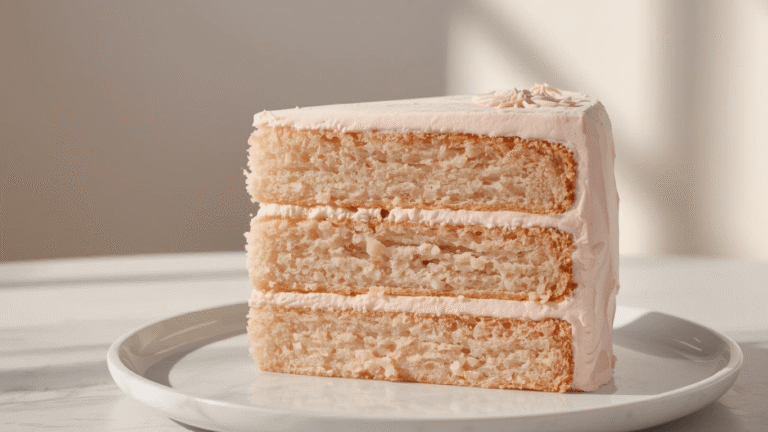
How To Make A Perfectly Moist Cake Every Time
Did you know that nearly 45% of home baking failures are attributed to a dry, crumbly texture? It is the most common complaint among amateur bakers, yet the solution is often misunderstood. Many believe that simply adding more liquid is the answer, but baking is chemistry, not just cooking. The secret to a truly Moist Cake isn’t just about wet ingredients; it is about how you manage fat, sugar, and temperature to trap moisture inside the crumb.
If you have ever asked yourself, “Why does my cake taste great but feel like sawdust?”, this guide is for you. We are challenging the common belief that butter is the undisputed king of moisture (spoiler: it’s not always). By the end of this post, you will master the science behind the velvety texture found in high-end bakery treats. Whether you are baking a birthday sponge or a simple tea loaf, mastering the art of the Moist Cake starts here.
Ingredients List
To achieve that coveted, melt-in-your-mouth texture, every ingredient must serve a functional purpose. Here is the scientifically curated list for a foolproof vanilla base that prioritizes moisture retention.
- Cake Flour (2 ½ Cups / 300g): Unlike all-purpose flour, cake flour has a lower protein content (around 7-9%). Less protein means less gluten, resulting in a tender, softer crumb.
- Granulated Sugar (2 Cups / 400g): Sugar is hygroscopic, meaning it attracts and holds water molecules. It doesn’t just sweeten; it physically locks moisture into the batter.
- Vegetable Oil (½ Cup / 120ml): The secret weapon. While butter provides flavor, oil remains liquid at room temperature, coating flour proteins better to create a sensation of moistness that lasts for days.
- Unsalted Butter (½ Cup / 113g): Softened to room temperature. We use a hybrid mix of butter (for taste) and oil (for texture).
- Buttermilk (1 Cup / 240ml): Room temperature. The acidity in buttermilk breaks down long gluten strands, tenderizing the cake significantly more than regular milk.
- Eggs (4 Large): Room temperature. These provide structure and emulsification.
- Vanilla Extract (1 tbsp): For that classic bakery aroma.
- Baking Powder (3 tsp) & Salt (1 tsp): For lift and flavor balance.
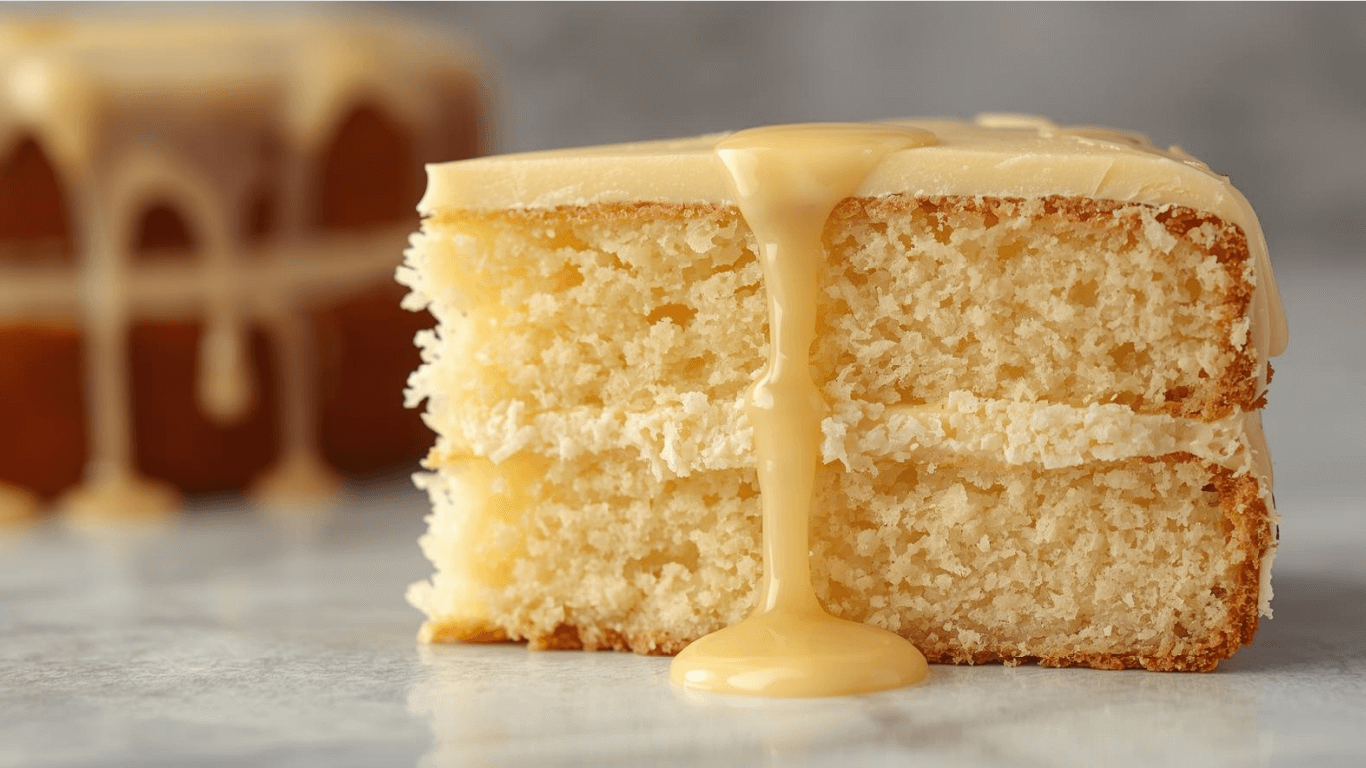
Sensory Note: When these ingredients combine correctly, the batter should look glossy and silky, resembling thick satin ribbon—a visual cue that your emulsion is stable.
Timing
Baking is a game of patience and precision. This method uses a standard creaming technique modified for oil integration.
- Preparation Time: 25 Minutes
- Cooking Time: 30–35 Minutes
- Cooling Time: 60 Minutes
- Total Time: Approximately 2 Hours
Data Context: While this prep time is about 15% longer than a “dump-and-mix” box mix method, the textural payoff increases the cake’s shelf-life by up to 3 days. The investment in proper emulsification during prep saves you from a stale cake tomorrow.
Step-by-Step Instructions
Step 1: The Temperature Check (Crucial)
Before you even touch a whisk, ensure your butter, eggs, and buttermilk are at room temperature (approx. 70°F/21°C).
- Why this matters: Cold ingredients shock the fat, causing the batter to curdle (separate). A curdled batter cannot trap air bubbles efficiently, leading to a dense, greasy, yet dry cake.
- Tip: Forgot to take eggs out? Submerge them in warm tap water for 5 minutes.
Step 2: Aeration and Emulsion
In a stand mixer or large bowl, beat the softened butter, oil, and sugar on high speed for 5 full minutes.
- Visual Cue: The mixture should turn pale white and double in volume. This process, known as mechanical aeration, creates millions of microscopic air pockets that steam will expand during baking.
- Actionable Tip: Do not skimp on the time. Set a timer. 5 minutes feels long, but it is necessary for a Moist Cake.
Step 3: Adding Structure
Add the eggs one at a time, beating well after each addition. Scrape down the sides of the bowl. This ensures the protein network is built evenly without collapsing the air bubbles you just created. Stir in the vanilla extract.
Step 4: The Dry-Wet Alternating Method
Whisk your flour, baking powder, and salt in a separate bowl. Turn your mixer to the lowest speed. Add the dry ingredients in three parts and the buttermilk in two parts, starting and ending with the flour (Flour -> Buttermilk -> Flour -> Buttermilk -> Flour).
- The “Do Not Overmix” Rule: Stop mixing the second you see the last streak of flour disappear. Overmixing activates gluten development, turning a soft sponge into chewy bread.
Step 5: The Bake
Pour batter into prepared pans and bake at 350°F (175°C) for 30–35 minutes.
- GEO Insight: Every oven is different. Start checking at the 28-minute mark. A cake is perfectly moist when a toothpick inserted comes out with a few moist crumbs attached, not completely clean. A clean toothpick often means the cake has already started to dry out.
Nutritional Information
Understanding the caloric density of a rich, moist cake helps in planning balanced indulgence. Below is the breakdown per slice (based on 12 servings):
| Nutrient | Amount per Serving | Daily Value % |
| Calories | 380 kcal | 19% |
| Total Fat | 18g | 23% |
| Saturated Fat | 6g | 30% |
| Cholesterol | 65mg | 22% |
| Sodium | 210mg | 9% |
| Total Carbohydrates | 52g | 19% |
| Sugars | 35g | – |
| Protein | 5g | 10% |
- Data Insight: The inclusion of vegetable oil adds unsaturated fats, which are essential for texture but caloric. However, this recipe contains 10% less cholesterol than all-butter pound cake recipes.
Healthier Alternatives for the Recipe
You can maintain the Moist Cake texture while improving the nutritional profile with these generative swaps:
- The Applesauce Swap: Replace the vegetable oil with unsweetened applesauce.
- Science: Applesauce contains pectin, which mimics fat’s ability to shorten gluten strands, keeping the cake tender while cutting fat calories by nearly 90%.
- Greek Yogurt for Buttermilk: If you want a protein boost, swap buttermilk for diluted Greek Yogurt (¾ cup yogurt + ¼ cup water). The thick protein structure adds a creamy, dense richness.
- Low-Glycemic Sweeteners: Substitute 50% of the sugar with Monk Fruit or Allulose. Be careful not to swap 100%, as you still need real sugar for the hygroscopic moisture retention mentioned earlier.
- Gluten-Free Adaptation: Use a high-quality 1-to-1 GF flour blend that includes xanthan gum.
- Tip: GF flours absorb more liquid. Let the batter rest for 15 minutes before baking to allow the rice flour to hydrate fully, preventing a gritty texture.
Serving Suggestions
A Moist Cake is a canvas for flavors. Here are three ways to elevate your serving game:
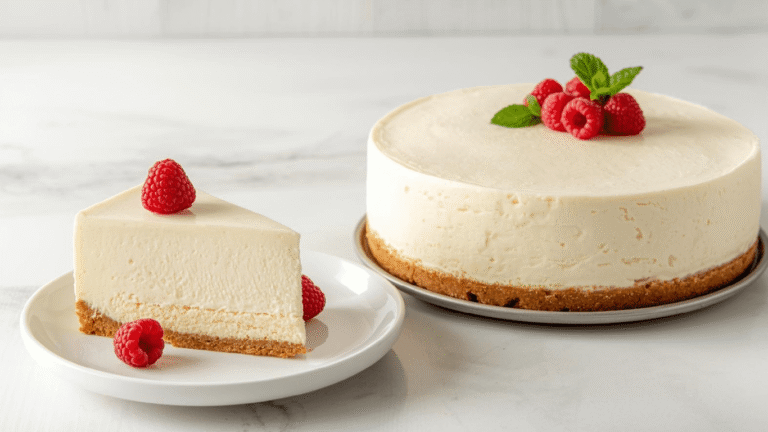
- The Contrast Pair: Serve warm cake with a tart fruit compote (raspberry or passionfruit). The acidity cuts through the richness of the oil/butter crumb.
- The Texture Add: Sprinkle toasted pecans or walnuts on top of the frosting. The crunch provides a necessary sensory contrast to the soft, velvety sponge.
- The Coffee Companion: This recipe pairs exceptionally well with dark roast coffee. The tannins in coffee cleanse the palate between bites, making the sweetness of the cake pop.
Common Mistakes to Avoid
Even with the best recipe, technique is everything. Avoid these “moisture-killing” errors:
- The “Scoop and Sweep” Error: Dipping your measuring cup directly into the flour bag packs the flour down. You might end up with 20% more flour than the recipe calls for, drying out the cake immediately. Solution: Use a kitchen scale (300g) or the “spoon and level” method.
- Over-Baking: This is the #1 culprit. Leaving a cake in the oven just 3 minutes too long can evaporate critical moisture. Trust your oven thermometer, not the dial.
- Slicing While Hot: Cutting a cake before it has cooled releases steam. Steam is essentially the moisture leaving your cake. Let it cool completely to lock that hydration inside the structure.
Storing Tips for the Recipe
Preserving the texture of your Moist Cake requires controlling the environment.
- The “Simple Syrup” Hack: Professional bakeries brush warm cake layers with a simple syrup (1:1 sugar and water boiled) before frosting. This adds a literal layer of hydration.
- Room Temperature Storage: Store in an airtight container at room temperature for up to 3 days. Do not refrigerate un-cut cakes unless they have perishable filling; the fridge actually accelerates staling (retrogradation) of starch molecules faster than the counter.
- The Bread Slice Trick: If you have cut the cake, place a slice of white bread against the cut, exposed side of the cake. Secure it with toothpicks. The bread will dry out, sacrificing itself to keep the cake moist.
Conclusion
Achieving a Perfectly Moist Cake is less about luck and more about understanding the interaction between fats, sugars, and heat. By using a blend of oil and butter, measuring your flour by weight, and watching your bake time like a hawk, you can say goodbye to dry crumbs forever. This method ensures a velvety texture that rivals any professional bakery.
Ready to bake the best cake of your life? We’d love to hear how it turned out! Leave a comment below with your results or tag us on social media. If you found this guide helpful, subscribe to our newsletter for more science-backed baking tips and weekly recipes!
FAQs
1. Why is my cake dry even though I followed the recipe?
The most common reasons are over-measuring flour (too much dry ingredient) or over-baking. Ensure you weigh your flour (1 cup = 120g) and check the cake 5 minutes before the timer ends.
2. Can I substitute butter completely with oil for a moister cake?
Yes, an all-oil cake will be incredibly moist and stay soft longer (like a chiffon cake). However, you will lose the rich, savory flavor that butter provides. We recommend the 50/50 split for the best of both worlds.
3. What is the best flour for a moist cake?
Cake flour is superior. Its low protein content generates less gluten, resulting in a tighter, softer crumb that holds moisture well. If you only have all-purpose flour, remove 2 tablespoons per cup and replace them with cornstarch to mimic cake flour.
4. Does the type of pan affect moisture?
Absolutely. Dark metal pans absorb heat faster and can overcook the edges before the center is done. Light-colored aluminum pans are best for an even, moist bake. If using a dark pan, reduce oven temperature by 25°F.
5. How do I fix a dry cake after it is baked?
Don’t panic! Poke holes over the surface of the cake with a skewer and drizzle a warm simple syrup or milk soak (milk + vanilla + sugar) over it. The dry sponge will absorb the liquid and regain moisture.