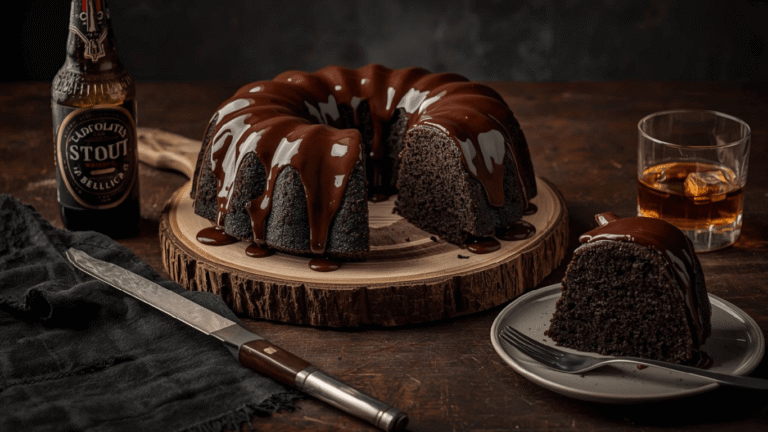
Best Cheesecake Crust: 4 Simple Cookie Base Recipes
Did you know that in blind taste tests, nearly 40% of a consumer’s satisfaction with a dessert is derived from textural contrast? This statistic challenges the common belief that the filling is the only star of the show. While a velvety, tangy filling is essential, it is the Cheesecake crust that provides the necessary structural foundation and the crucial “crunch” to balance the creaminess.
Yet, the crust is often an afterthought—a hasty mix of generic crumbs and butter. If you have ever suffered through a soggy bottom or a rock-hard base that requires a jackhammer to cut, you know the pain of a failed foundation. But here is the good news: mastering the base is the easiest way to elevate your baking from “home cook” to “pâtissier level.”
In this guide, we are moving beyond the standard box recipe. We will explore 4 distinct cookie base variations—from the classic Graham to the trendy Biscoff—ensuring that every Cheesecake you bake has the perfect, sturdy, and flavorful platform it deserves.
Ingredients List
To create the perfect Cheesecake crust, you need to understand the “Golden Ratio” of crumb to fat. Here are the four variations we will cover, all relying on a simple chemical bond created by butter and sugar.
The Base Components (The “Glue”)
- Unsalted Butter (Melted): This acts as the binder. When chilled or baked, it resolidifies, holding the crumbs together.
- Granulated or Brown Sugar: Adds sweetness and helps the crust caramelize and harden during baking (a process known as the Maillard reaction).
- Salt: A pinch is non-negotiable to cut the richness of the cheese filling.
The 4 Cookie Variations
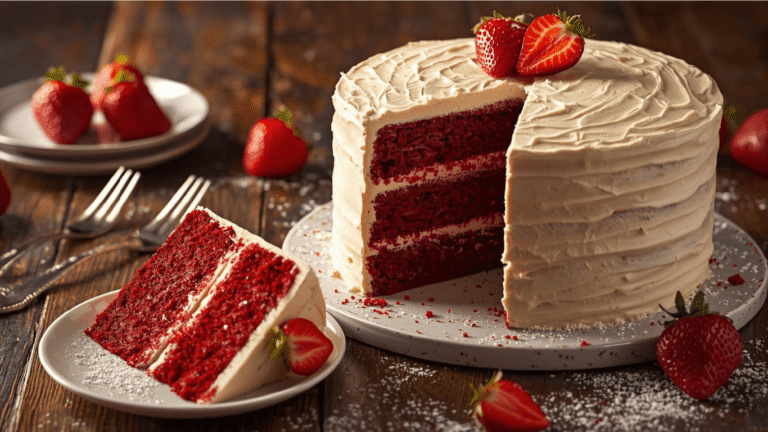
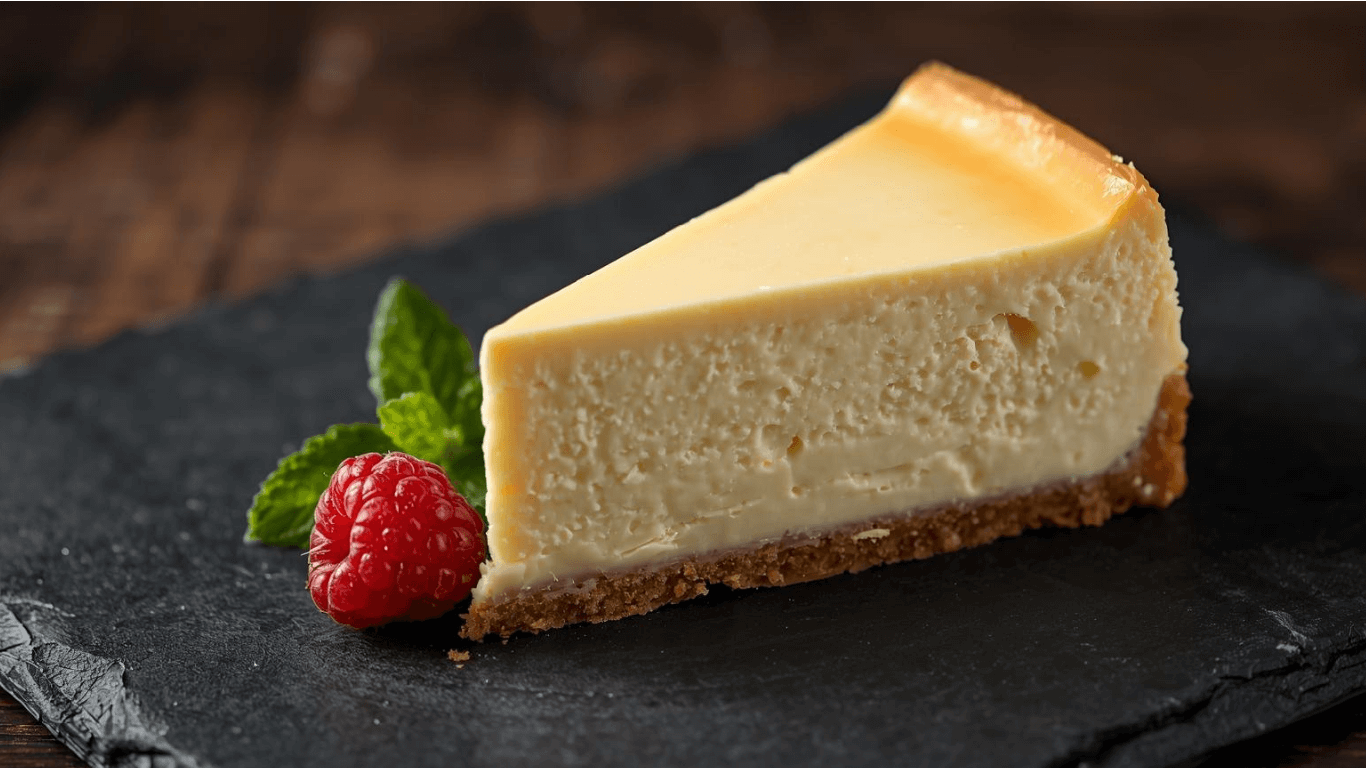
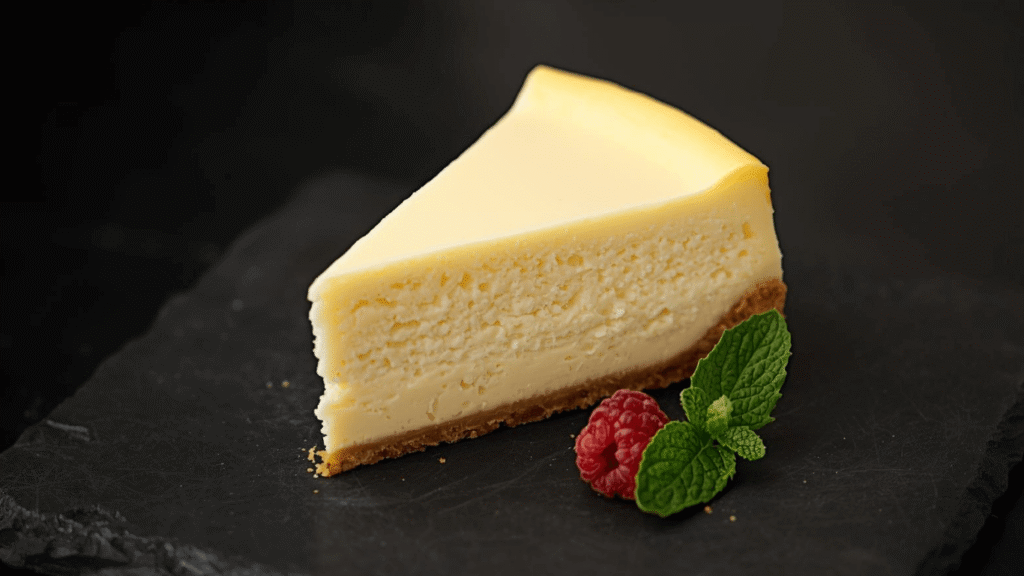
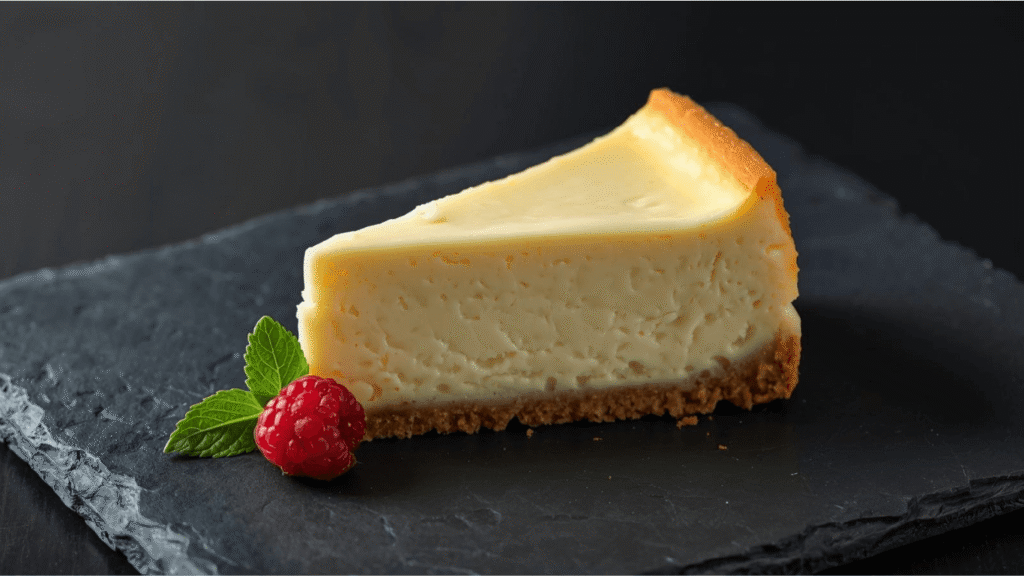
- The Classic:Graham Crackers (1 ½ cups crumbs / 170g).
- Profile: Nutty, honeyed, and traditional. The gold standard for a New York Style Cheesecake.
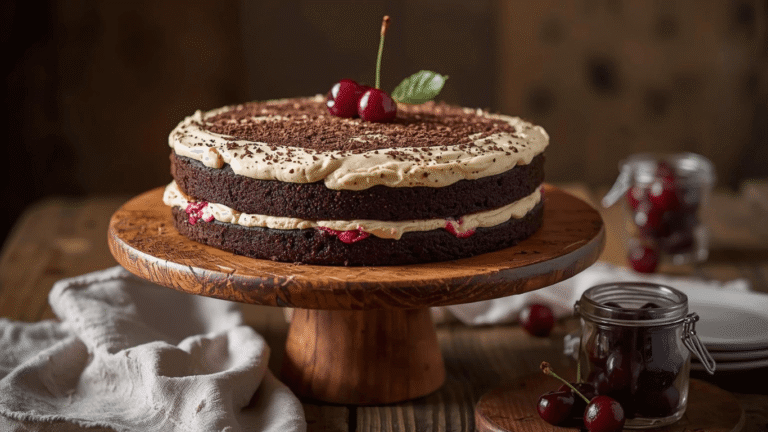
- The Chocolatier:Oreo/Sandwich Cookies (20 whole cookies).
- Profile: Deep cocoa flavor. Note: Leave the cream filling in; it adds stability and sweetness!
- The European Spiced:Biscoff/Speculoos Cookies (1 ½ cups crumbs / 170g).
- Profile: Caramelized, cinnamon-spiced, and warm. Perfect for autumn flavors.
- The Buttery Shortbread:Shortbread Cookies or Vanilla Wafers (1 ½ cups crumbs / 170g).
- Profile: Rich, buttery, and neutral. Ideal for fruit-heavy or lemon cheesecakes.
Timing
Creating a custom crust is surprisingly fast, often taking less time than preheating your oven.
- Preparation Time: 10 Minutes
- Baking Time (Blind Bake): 10 Minutes
- Cooling Time: 15 Minutes
- Total Time: Approximately 35 Minutes
Data Context: Making a homemade cookie crust is roughly 80% faster than preparing a traditional flour-and-butter pastry dough (which requires resting and rolling). It offers a high return on investment for your time, delivering maximum flavor with minimal effort.
Step-by-Step Instructions
Step 1: The Pulverization
Process: Place your chosen cookies in a food processor. Pulse until you have fine, sandy crumbs.
- Manual Method: If you don’t have a processor, place cookies in a heavy-duty Ziploc bag and crush them with a rolling pin.
- Texture Tip: Avoid large chunks. Uniform, sand-like crumbs ensure the Cheesecake cuts cleanly later.
Step 2: The Binding (The Ratios)
Process: In a medium bowl, combine the crumbs with the sugar and salt. Pour in the melted butter.
- Custom Ratios:
- Graham/Shortbread/Biscoff: Use 6 tbsp (85g) of melted butter and ¼ cup sugar. These dry cookies are thirsty and need more fat.
- Oreo: Use only 4 tbsp (56g) of melted butter and skip the sugar. The cream filling in the Oreos already provides fat and sweetness. If you add too much butter here, grease will leak out of your springform pan.
Step 3: The Press
Process: Pour the moist crumbs into a 9-inch springform pan.
- Technique: Spread them evenly with a fork first. Then, use the bottom of a flat measuring cup or a glass to press down firmly. Start from the center and work your way out.
- Actionable Tip: Do not pack it down with maximum force! Pressing too hard creates a crust that is rock-hard and difficult to slice. Aim for “firmly packed,” not “cemented.”
Step 4: To Bake or Freeze?
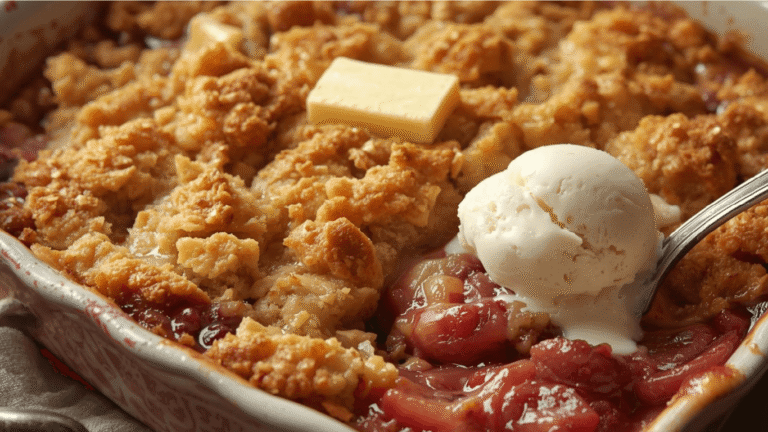
- Option A (Baked Crust – Recommended): Bake at 350°F (175°C) for 10 minutes. This “sets” the crust, caramelizes the sugars, and creates a crisp barrier that prevents the Cheesecake batter from making the crust soggy.
- Option B (No-Bake): If making a no-bake dessert, freeze the crust for 20 minutes to solidify the butter before adding the filling.
Nutritional Information
While Cheesecake is an indulgence, knowing the breakdown of the base helps in portion planning. (Estimates per slice, based on 12 servings).
| Crust Type | Calories | Total Fat | Sugars |
| Graham Cracker | 130 kcal | 7g | 8g |
| Oreo | 145 kcal | 8g | 11g |
| Biscoff | 150 kcal | 9g | 10g |
| Shortbread | 160 kcal | 10g | 7g |
- Data Insight: The Oreo crust, surprisingly, requires less added butter, making its fat content comparable to the Graham crust despite the cookie being richer.
Healthier Alternatives for the Recipe
If you are catering to specific dietary needs, you can easily adapt the foundation of your Cheesecake without losing stability.
- The Gluten-Free Swap: Simply substitute the Graham crackers for GF digestive biscuits or almond flour cookies. The butter ratio remains exactly the same.
- Keto/Low Carb Base: Use Almond Flour (1 ½ cups) mixed with 3 tbsp melted butter and 2 tbsp erythritol. Almond flour is naturally oily, so it requires less butter than dry crackers.
- Dairy-Free Binder: Replace the butter with melted Coconut Oil or a high-quality vegan butter block. Coconut oil adds a subtle tropical note that pairs beautifully with lime or berry fillings.
- Lower Sugar: If using sweet cookies like Biscoff, you can omit the added sugar entirely. The cookie itself provides enough sweetness to contrast the tangy cheese.
Serving Suggestions
Matching your crust to your filling is an art form. Here are some “flavor pairings” to maximize the gastronomic experience:
- Lemon or Berry Cheesecake: Use the Shortbread or Vanilla Wafer crust. The buttery, neutral vanilla flavor allows the brightness of the fruit to shine without competition.
- Peanut Butter or Chocolate Cheesecake: The Oreo crust is mandatory here. The bitter cocoa notes cut through the dense richness of peanut butter or chocolate ganache.
- Pumpkin or Spiced Cheesecake: The Biscoff crust was made for this. The ginger, cinnamon, and nutmeg notes in the cookie amplify the fall spices in the filling.
- Classic New York Style: Stick to the Graham Cracker crust. The subtle honey note is the traditional and expected flavor profile that balances the sour cream topping.
Common Mistakes to Avoid
A bad crust can ruin a great cake. Avoid these common pitfalls:
- The “Leaky Pan” Disaster: If you use too much butter, it will seep out of the springform pan and smoke up your oven. Fix: Stick to the ratios provided—dry cookies need more butter; cream-filled cookies need less.
- The Soggy Bottom: This happens when you pour liquid batter onto a raw crust. Fix: Always blind bake your crust for 10 minutes. This creates a “seal.”
- The Crumble Factor: If the crust falls apart when you slice it, you likely didn’t use enough pressure when packing it, or you didn’t use enough butter. Fix: The mixture should feel like wet sand; if you squeeze a handful, it should hold its shape.
- The “Burnt Edges”: Sugar burns fast. If you are baking a Cheesecake for 60+ minutes, the crust edges might darken too much. Fix: Wrap the bottom of your pan in foil, not just for the water bath, but to insulate the crust from direct heat.
Storing Tips for the Recipe
You can prep your crusts in advance to save time on the big baking day.
- Freezing the Crumbs: If you have leftover crushed cookies, store them in a freezer-safe bag for up to 3 months. They stay fresh and ready to use.
- Pre-Making the Crust: You can press the crust into the pan and freeze the whole thing (raw or baked) for up to 1 week. If baking from frozen, add 2-3 minutes to the blind bake time.
- Storing the Finished Cake: Once the Cheesecake is baked and cooled, the crust will soften slightly over time as it absorbs moisture from the filling. It is best enjoyed within 3 to 4 days.
- Reviving a Soft Crust: Unfortunately, once a crust is under a cheesecake, you can’t re-crisp it. This is why the initial “blind bake” is crucial for longevity.
Conclusion
The crust is more than just a container for your filling; it is the textural counterpart that makes a Cheesecake truly complete. Whether you choose the honeyed snap of a Graham cracker, the dark richness of an Oreo, or the spiced warmth of Biscoff, the secret lies in the ratio of crumb to butter. By mastering these 4 simple cookie bases, you ensure that every bite—from the first forkful to the last—is perfectly balanced.
Which crust will you choose for your next baking project?
We’d love to hear your favorite flavor combinations! Leave a comment below, rate this recipe, and subscribe to our newsletter for more expert baking guides and sweet inspiration delivered to your inbox.
FAQs
1. Do I absolutely have to bake the crust?
For a baked Cheesecake, yes. Baking the crust for 10 minutes helps it set and prevents it from becoming soggy when the wet batter is added. For a no-bake dessert, you can simply chill it in the fridge or freezer.
2. Can I use a different size pan?
This recipe makes enough crust for a standard 9-inch springform pan. If you are using an 8-inch pan, you will have a slightly thicker crust (which is delicious!). For a 10-inch pan, increase the ingredient quantities by 25%.
3. Why is my crust too hard to cut?
You likely pressed it down too hard or added too much butter. When compacting the crumbs, use firm pressure but don’t put your entire body weight into it. You want the crumbs to adhere, not fuse into a solid block.
4. Can I use salted butter?
Yes, you can. If you use salted butter, simply omit the pinch of added salt in the recipe. The salty-sweet contrast is actually very desirable in a rich dessert like Cheesecake.
5. My springform pan leaks butter. What do I do?
This is common. Always place your springform pan on a baking sheet (cookie sheet) while it’s in the oven to catch any drips. This prevents butter from hitting the bottom of the oven and causing smoke.