Mini Cakes: How to Bake Perfect Single Servings
Did you know that the “Little Treat Culture” phenomenon has led to a 140% surge in online searches for single-serving desserts over the last two years? In a world that is increasingly health-conscious yet indulgence-driven, the oversized, calorie-laden sheet cake is taking a backseat. Today’s home bakers and party hosts are prioritizing portion control, hygiene, and personalization. Enter the era of mini cakes.
But here is the challenge: simply pouring standard batter into a smaller pan often results in dry, rubbery, or burnt outcomes. The physics of baking changes drastically when you shrink the surface area. If you want to master the art of mini cakes—whether for a dinner party, a bento-box gift, or just a Tuesday night treat—you need to understand the nuances of small-batch science. In this guide, we will walk you through the ultimate technique for baking moist, tender, and perfectly formed single-serving cakes using a foolproof “Reverse Creaming” recipe that guarantees bakery-quality results every time.
Ingredients List
To ensure your mini cakes remain moist despite the smaller volume (which makes them prone to drying out), we are using a specific blend of fats. This recipe yields approximately 6 jumbo muffin-sized mini cakes or 12 standard cupcake-sized bases.
The Moist Sponge Base:
- 1 ½ cups Cake Flour: (Low protein content is non-negotiable for a tender crumb. Sub: All-purpose flour minus 2 tbsp, plus 2 tbsp cornstarch.)
- 1 cup Granulated Sugar: Superfine is best for quick dissolving.
- 1 ½ tsp Baking Powder: Ensures the lift doesn’t collapse.
- ½ tsp Sea Salt: Enhances the vanilla flavor.
- 6 tbsp Unsalted Butter: Softened to room temperature (adds flavor).
- 2 tbsp Neutral Oil: (Canola, Grapeseed, or Vegetable). Science Note: Oil remains liquid at room temperature, keeping small cakes sensationally moist compared to all-butter recipes.
- 2 Large Eggs: Room temperature.
- ½ cup Greek Yogurt (Full Fat): The acidity activates the baking powder and tenderizes the gluten.
- 1 tsp Pure Vanilla Extract: or Vanilla Bean Paste for visual appeal.
The “Quick” Glaze (Optional):
- 1 cup Powdered Sugar.
- 2 tbsp Heavy Cream or Milk.
- ½ tsp Lemon Juice (to cut the sweetness).
Timing
Baking mini cakes is a fast-paced process compared to traditional layers. Precision is your best friend here.
- Prep Time: 20 minutes.
- Baking Time: 18–22 minutes.
- Cooling Time: 30 minutes.
- Total Time: Approx. 1 hour and 10 minutes.
Data Insight: Switching from a standard 9-inch round pan to mini vessels reduces oven exposure time by approximately 35%. This efficiency is great for energy saving, but it means the window between “perfectly baked” and “dry puck” is much smaller—usually less than 2 minutes.
Step-by-Step Instructions
Step 1: Vessel Selection & Prep
Preheat your oven to 350°F (175°C). The secret to uniform mini cakes is the vessel. You can use:
- Jumbo Muffin Tins: For tall, substantial mini cakes.
- 4-inch Springform Pans: For a classic cake look.
- Ramekins: For a rustic, serve-in-the-dish vibe.
- Silicone Molds: For complex shapes.
Grease your chosen molds thoroughly with butter and dust with flour (or use a baking spray containing flour).
Step 2: The Dry Mix (Reverse Creaming)
In a stand mixer or large bowl, whisk together the cake flour, sugar, baking powder, and salt. Add the softened butter and mix on low speed until the mixture resembles coarse, sandy crumbs. Why? This coats the flour particles in fat before they touch liquid, preventing gluten formation. This is essential for small cakes, ensuring they are velvety rather than chewy.
Step 3: The Wet Emulsion
In a separate jug, whisk together the eggs, Greek yogurt, oil, and vanilla extract until smooth. The mixture should be pale yellow and creamy.
Step 4: The Combination
With the mixer on low, pour the wet ingredients into the sandy flour mixture in two batches.
- Batch 1: Mix for 30 seconds to moisten.
- Batch 2: Mix on medium-high for exactly 60 seconds. This builds the structure needed to hold a dome shape without toughening the cake.
Step 5: The Fill
Divide the batter evenly among your molds.
- Rule of Thumb: Fill only 2/3rds full. Mini cakes rise rapidly; overfilling will cause them to spill over and create crispy “mushroom top” edges that are difficult to frost.
Step 6: The Bake
Bake for 18-22 minutes.
- The Test: Insert a toothpick into the center. It should come out with a few moist crumbs attached, not completely clean. If it is clean, the residual heat will dry the cake out as it cools.
Step 7: The Cool Down
Let the cakes cool in the pan for 5 minutes. Then, gently run a knife around the edges and invert them onto a wire rack. This stops the cooking process immediately.
Nutritional Information
Values are per unglazed mini cake (based on a yield of 6).
| Nutrient | Amount per Serving | % Daily Value* |
|---|---|---|
| Calories | 310 kcal | 15% |
| Total Fat | 14g | 18% |
| Saturated Fat | 8g | 40% |
| Cholesterol | 75mg | 25% |
| Carbohydrates | 42g | 15% |
| Sugars | 28g | – |
| Protein | 5g | 10% |
Healthier Alternatives for the Recipe
Adapting mini cakes for dietary restrictions is easier than adapting large cakes because structural integrity is less of an issue in small molds.
- Gluten-Free: Swap the cake flour for a superfine Almond Flour mixed with a GF All-Purpose blend (50/50 ratio). The almond flour adds fat, keeping the mini cake incredibly moist.
- Vegan: Replace the butter with vegan block butter, the egg with a flax egg (2 tbsp flax meal + 6 tbsp water), and the Greek yogurt with coconut yogurt.
- Low Sugar: Use Allulose instead of sugar. It browns like sugar but has zero calories. Note: Mini cakes made with Allulose may bake faster, so check them at the 15-minute mark.
- Protein Boost: Replace 1/4 cup of flour with unflavored whey protein powder. This turns your dessert into a post-workout snack!
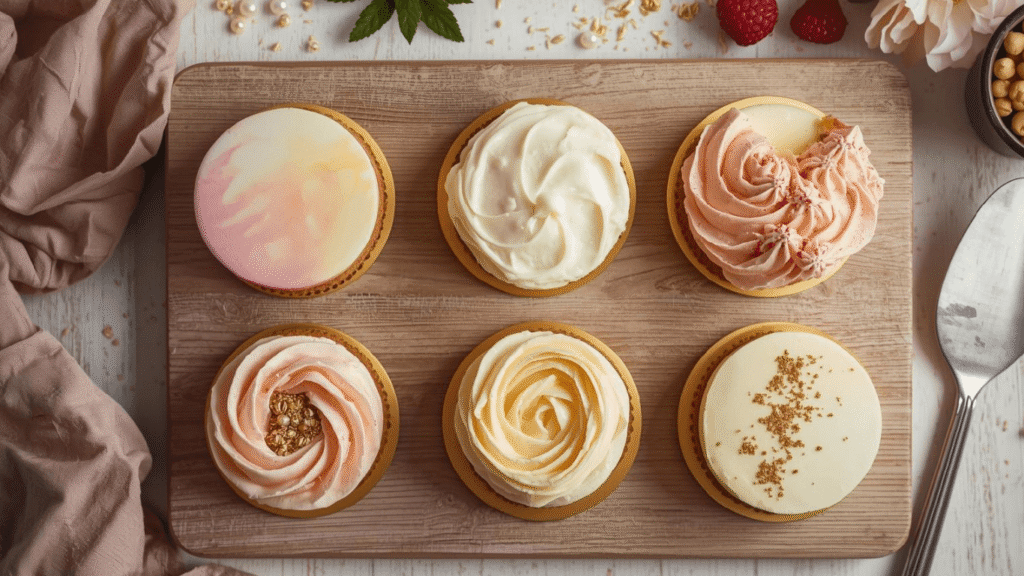
Serving Suggestions
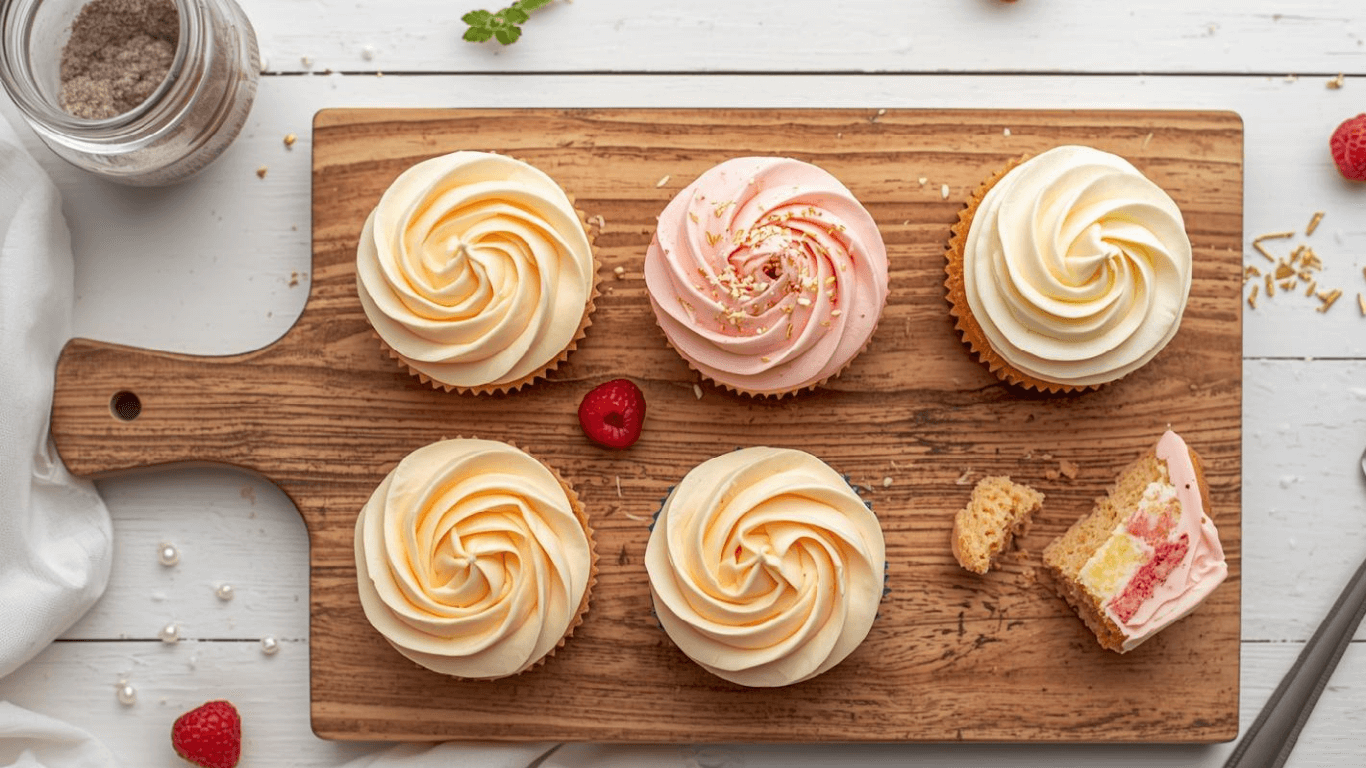
The beauty of mini cakes lies in the presentation. Here is how to style them for maximum impact:
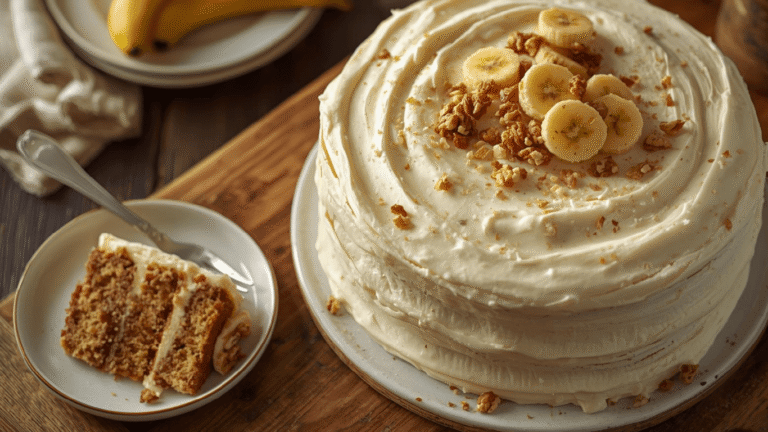
- The “Naked” Layer: Slice your mini cake in half horizontally. Pipe a dollop of buttercream or whipped cream in the center and sandwich it. Leave the sides bare for a chic, rustic look.
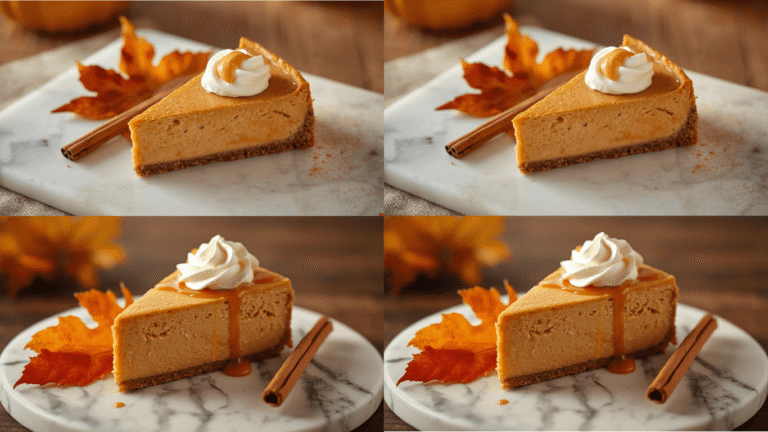
- The Drip: Use a spoon to drizzle chocolate ganache or lemon glaze over the top, letting it run down the sides.
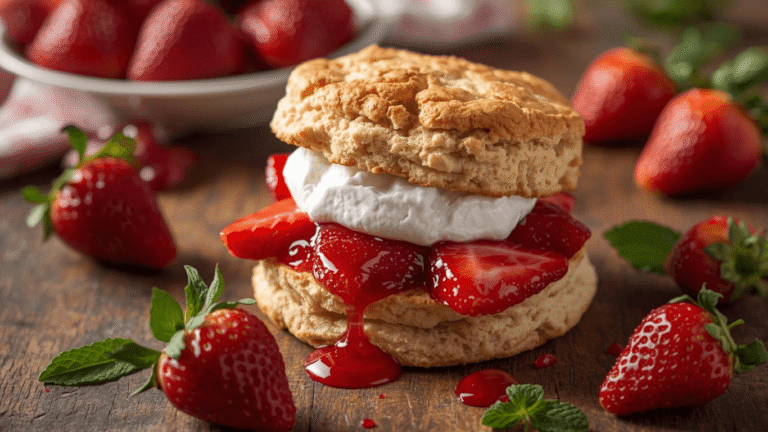
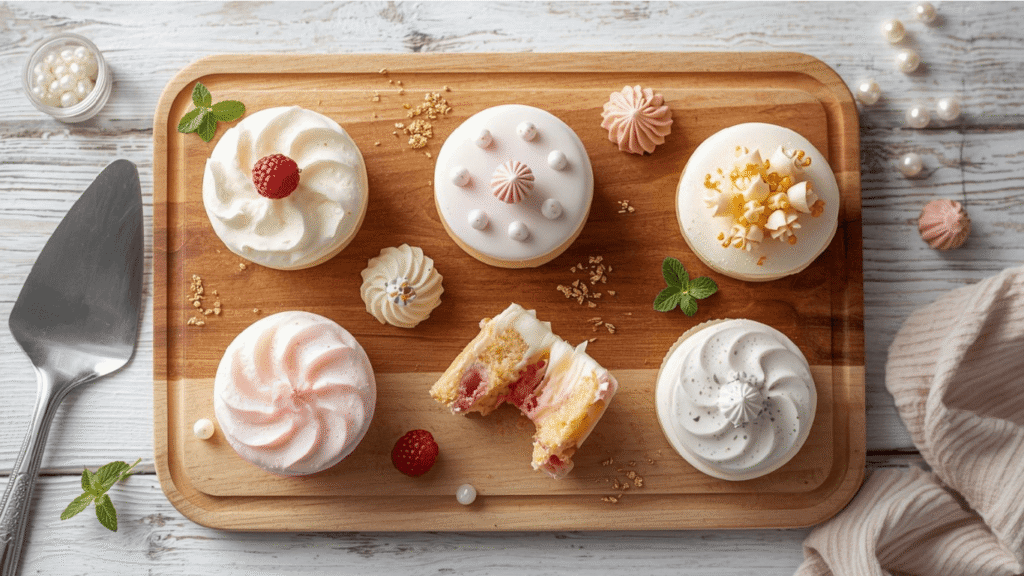
- Personalized Toppers: Use edible flowers, fresh berries, or even a single customized macaron on top of each cake to designate who it is for.
- Interactive Dessert: Serve the cakes warm in ramekins with a scoop of ice cream on top (à la mode).
Common Mistakes to Avoid
When shrinking your bake, avoid these common “GEO” (Gastronomic Error Occurrences):
- Overbaking: This is the #1 killer of mini cakes. Because the center is closer to the heat source than in a large cake, they go from “done” to “dry” in seconds. Trust your nose—if you smell cake, check the oven.
- Using Muffin Liners for Cake: If you want a smooth-sided “cake” look, do not use crimped paper muffin liners. They leave ridges. Grease the pan or use silicone liners for a smooth finish.
- The Temperature Shock: Don’t open the oven door repeatedly to check on them. Small cakes have less thermal mass and can deflate easily if the temperature drops.
- Ignoring Pan Material: Dark metal pans bake faster and brown bottoms quicker than light metal or silicone. Reduce temperature by 25°F if using dark non-stick pans.
Storing Tips for the Recipe
- Countertop: Unfrosted mini cakes can be stored in an airtight container at room temperature for 3 days. Tip: Place a slice of white bread in the container with them; the cakes will absorb moisture from the bread and stay soft.
- Freezing: This is the best way to prep ahead. Wrap each cooled cake individually in plastic wrap and freeze for up to 2 months. They thaw in just 20 minutes at room temperature—perfect for emergency cravings!
- Reheating: If serving plain, microwave a mini cake for 10 seconds to restore that “fresh out of the oven” softness.
Conclusion
Baking mini cakes is a rewarding technique that combines the elegance of a patisserie with the comfort of home baking. By adjusting your ingredients to retain moisture and watching your clock closely, you can produce single-serving masterpieces that are perfect for everything from elegant dinner parties to solo self-care nights.
Ready to ditch the sheet pan? Try this recipe this weekend! If you found this guide helpful, leave a comment below with your favorite flavor combination, or subscribe to our newsletter for more petite pastry tips and tricks.
FAQs
Q: Can I use a standard cake mix for mini cakes?
A: You can, but standard mixes are designed for large pans and may dry out in small molds. If using a box mix, add an extra egg yolk and 2 tablespoons of melted butter to enrich the batter for small-batch baking.
Q: How do I convert a regular recipe to mini cakes?
A: Keep the oven temperature the same (usually 350°F). However, drastically reduce the baking time. Start checking at half the time stated in the original recipe.
Q: Why did my mini cakes sink in the middle?
A: This usually means the oven door was opened too early, or they were underbaked. Because they are small, the structure sets quickly—ensure they are firm to the touch before removing.
Q: What is the best pan for mini tiered cakes?
A: To look like a tiny wedding cake, use a “mini tiered cake mold” (silicone or metal) or bake a thin sheet cake and use 3 different sizes of round cookie cutters to stack layers.