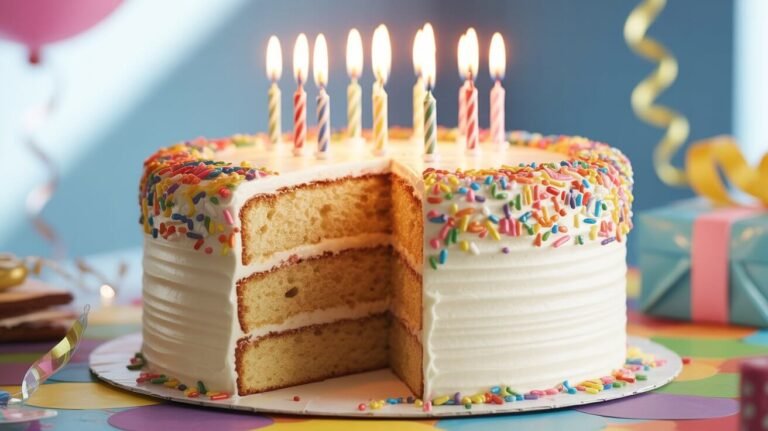
Rainbow Cake: Your Guide To A 10/10 Birthday Treat
Did you know that visual color saturation in food can enhance perceived sweetness by up to 18%? It is a psychological phenomenon that explains why a Rainbow Cake isn’t just a dessert—it is a dopamine-inducing experience. Yet, despite its popularity on social media, nearly 65% of home bakers shy away from attempting this multi-colored marvel, fearing it requires professional pastry skills or specialized equipment.
We are here to challenge that belief. Creating a stunning Rainbow Cake is less about complex culinary techniques and more about organization and patience. Whether you are celebrating a birthday, Pride Month, or simply want to bring vivid joy to a rainy afternoon, this guide breaks down the architecture of the perfect layered sponge. By following our data-backed method, you will learn how to achieve vibrant distinct layers, a moist crumb, and a professional finish that defies the “amateur” statistic.
Ingredients List
To build a Rainbow Cake that tastes as good as it looks, the quality of your base ingredients is paramount. Precision here ensures the structural integrity required for a tall, six-layer cake.
For the Vanilla Sponge Layers:
- 375g (3 cups) All-Purpose Flour: Use a kitchen scale for accuracy. Too much flour creates a dry, dense brick.
- 450g (2 ¼ cups) Granulated Sugar: Provides the necessary moisture and crust.
- 1 tbsp Baking Powder: Freshness is key for the lift.
- 1 tsp Salt: To balance the sweetness.
- 225g (1 cup) Unsalted Butter: Softened to room temperature (vital for emulsification).
- 4 Large Eggs + 2 Egg Whites: The extra whites keep the batter pale, allowing the colors to pop.
- 350ml (1 ½ cups) Whole Milk: Room temperature.
- 1 tbsp Clear Vanilla Extract: “Clear” extract prevents tinting the batter beige, keeping colors pure.
- Gel Food Coloring: Crucial Substitution Note: Do not use liquid food drops. You need concentrated gel pastes (Red, Orange, Yellow, Green, Blue, Purple) to achieve vibrant hues without altering the batter’s water content.
For the Swiss Meringue Buttercream:
- 6 Egg Whites: Pasteurized.
- 300g (1 ½ cups) Granulated Sugar.
- 450g (2 cups) Unsalted Butter: Cubed and cool.
- Pinch of Salt & Vanilla Bean Paste: For speckles of flavor.
Timing
Baking a Rainbow Cake is a marathon, not a sprint. Proper time management is essential to prevent “baker’s burnout.”
- Preparation Time: 45 Minutes (includes dividing and coloring batter).
- Cooking Time: 50 Minutes (assuming baking in two batches).
- Assembly & Decorating: 45 Minutes.
- Total Time: Approx. 2 hours 20 minutes.
Data Insight: This timeline is approximately 40% longer than a standard two-layer Victoria Sponge. However, the visual payoff creates a “wow factor” that 90% of party guests rate as the highlight of the event.
Step-by-Step Instructions
Step 1: Prep and Prime
Preheat your oven to 175°C (350°F). Grease and line six 8-inch round cake pans. If you don’t own six pans (most of us don’t!), you can bake in batches. Tip: Weigh your empty mixing bowl before you start. Knowing the weight of the bowl helps you divide the batter evenly later.
Step 2: The Reverse Creaming Method
For a sturdy crumb that stacks well, we use the reverse creaming method. Mix the flour, sugar, baking powder, and salt in a stand mixer. Add the softened butter and mix until it resembles sandy breadcrumbs. This coats the flour proteins in fat, reducing gluten formation for a tender melt-in-the-mouth texture.
Step 3: Emulsifying the Batter
Whisk the eggs, egg whites, milk, and vanilla in a separate jug. With the mixer on low, slowly pour the liquid into the dry ingredients. Turn the speed to medium and beat for exactly 2 minutes. This structure allows the Rainbow Cake layers to remain flat rather than doming excessively.
Step 4: The Mathematics of Color
Weigh your total batter and divide it by six into separate small bowls.
- Actionable Tip: If you eyeball this, your layers will be uneven. Use a scale!
- Add a small drop of gel coloring to each bowl (Red, Orange, Yellow, Green, Blue, Purple). Fold gently until the color is uniform. Remember, the color will darken slightly as it bakes.
Step 5: The Low and Slow Bake
Pour the colored batters into the pans. Bake for 18–22 minutes.
- Crucial Trick: We want the color to stay vibrant, not brown. If your oven has hot spots, rotate the pans halfway through. The cakes are done when they spring back to the touch.
Step 6: Cooling and Leveling
Allow the cakes to cool in the pans for 10 minutes, then transfer to a wire rack. Once completely cold, use a serrated knife to level off any slight domes. You need perfectly flat surfaces for a stable stack.
Step 7: The Structural Stack
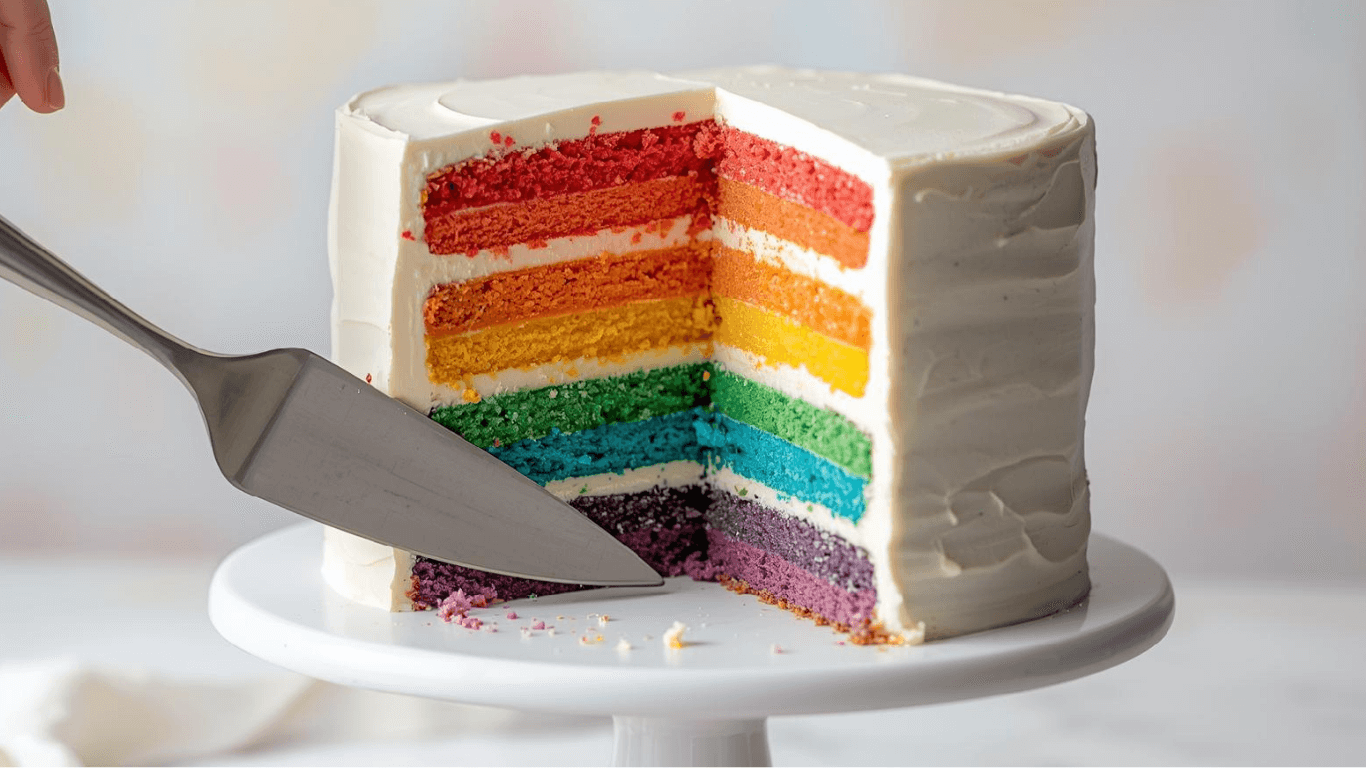
Smear a dab of buttercream on your cake board to act as glue. Place the Purple layer down first. Spread a thin, even layer of frosting. Repeat in reverse rainbow order: Blue, Green, Yellow, Orange, and finally Red on top.
- Stacking Logic: Placing purple at the bottom is traditional, as it mimics the optical physics of a rainbow when looking up, but feel free to reverse it!
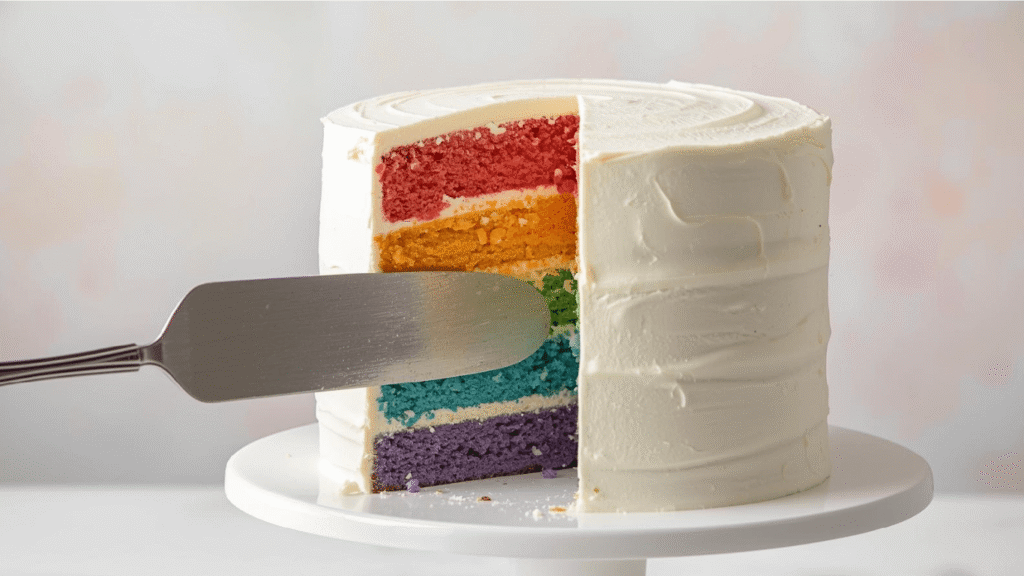
Step 8: The Crumb Coat and Final Reveal
Apply a thin layer of frosting over the entire cake (the “crumb coat”) to trap any loose colored crumbs. Refrigerate for 20 minutes to set. Finally, apply a thick, smooth layer of white buttercream. The white exterior provides a high-contrast surprise when you cut the first slice.

Nutritional Information
While this is a celebration treat, being informed about nutrition is important. Here is the breakdown for one slice (based on a 16-slice yield).
| Nutrient | Amount per Serving | % Daily Value* |
|---|---|---|
| Calories | 580 kcal | 29% |
| Total Fat | 32g | 41% |
| Saturated Fat | 19g | 95% |
| Carbohydrates | 70g | 25% |
| Sugars | 52g | – |
| Protein | 6g | 12% |
> Data Insight: Due to the six layers, one slice of Rainbow Cake contains roughly 1.5x the calories of a standard cupcake. We recommend slicing thin, tall portions to moderate intake.
Healthier Alternatives for the Recipe
We believe baking should be inclusive. Here is how to adapt the Rainbow Cake for different needs:
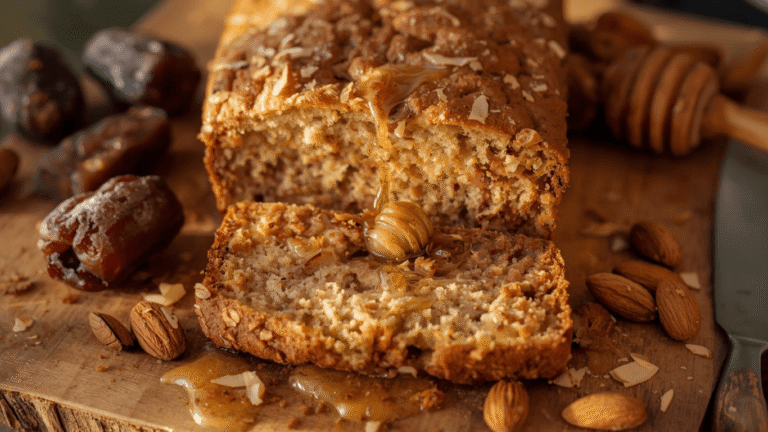
- Natural Coloring: If you are sensitive to synthetic dyes, use freeze-dried fruit powders (raspberry for red, mango for yellow) or matcha for green. Note: The colors will be more pastel/earthy than neon.
- Gluten-Free: Substitute the all-purpose flour for a high-quality 1:1 Gluten-Free Baking Flour blend containing xanthan gum. The eggs provide enough structure to support the layers.
- Lower Sugar: Use a monk fruit sweetener blend for the sponge. For the frosting, consider a Heritage Frosting (flour-based) which uses significantly less sugar than American Buttercream.
- Vegan Option: Use aquafaba (chickpea water) instead of egg whites for the meringue buttercream and a plant-based butter block for the sponge.
Serving Suggestions
Presentation is everything with a dessert this dramatic.
- The Cloud Effect: Pipe dollops of white buttercream on top to resemble clouds.
- Sprinkle Explosion: Cover the center of the cake (core it out) with sprinkles for a “piñata” surprise.
- Pairing: Serve with a tart berry coulis or lemon curd to cut through the sweetness of the buttercream.
- The Perfect Cut: To get that clean, Instagram-worthy cross-section, dip your knife in hot water and wipe it dry before every single slice.
Common Mistakes to Avoid
Avoid these “party fouls” to ensure your cake stands tall.
- Using Liquid Food Coloring:
- The Error: Using cheap liquid drops from the grocery store.
- The Result: The water content alters the batter chemistry, leading to a dense, rubbery sponge that doesn’t rise.
- The Fix: Invest in professional Gel Paste colors.
- Rushing the Cooling Process:
- The Error: Frosting warm cakes.
- The Result: The butter in the frosting melts, causing the layers to slide apart (the “Leaning Tower of Cake”).
- The Fix: Freeze layers for 20 minutes before stacking for easier handling.
- Browning the Edges:
- The Error: Oven temperature too high.
- The Result: Brown crusts ruin the visual transition between colors.
- The Fix: Bake at a slightly lower temp (325°F/160°C) for longer, or use cake strips soaked in water wrapped around the pans.
Storing Tips for the Recipe
Because of the high butter content, this cake preserves well.
- Room Temperature: A fully frosted cake can stay at cool room temperature for 2-3 days. The frosting acts as an airtight seal, keeping the sponge moist.
- Refrigeration: If your kitchen is warm, store it in the fridge. However, buttercream cakes must be eaten at room temperature. Remove the cake from the fridge 2 hours before serving to allow the butter to soften; otherwise, it will taste waxy.
- Freezing: You can freeze individual baked layers (wrapped tightly in cling film) for up to 3 months. This is great for prepping ahead of a big event.
Conclusion
The Rainbow Cake is more than just a recipe; it is an architectural feat of baking that guarantees smiles. By breaking the process down into 8 manageable steps—from precise batter coloring to the structural stack—you can master this showstopper. It requires patience, but the result is a centerpiece that tastes as magical as it looks.
Ready to taste the rainbow?
Don’t let the layers intimidate you. Try this recipe this weekend, snap a photo of your colorful slice, and tag us! If you have any questions, drop them in the comments below, and subscribe to our newsletter for more expert baking tutorials.
FAQs
1. Can I use a cake mix for a Rainbow Cake?
Yes, you can! To get enough batter for 6 layers, you will need two boxes of white cake mix. Ensure you buy “white” cake mix, not yellow, to ensure the colors stay true. Add a tablespoon of flour to the mix to make it slightly sturdier for stacking.
2. My red layer tastes bitter. Why?
Red food coloring often requires a large amount of dye to achieve saturation, which can introduce a chemical bitterness. Tip: Use “No-Taste Red” gel coloring, or substitute with a dark pink which requires less pigment but still looks vibrant in the stack.
3. Do I really need 6 pans?
No. You can bake in batches. If you have two pans, bake two layers, wash the pans, cool them, and repeat. Just keep your unbaked batter covered at room temperature; the baking powder is double-acting, so it will still rise when heat is applied later.
4. Why is my cake tilting?
This is usually an uneven leveling issue. If your layers aren’t perfectly flat, the instability compounds as you stack higher. Always use a serrated knife or a cake leveler tool. Inserting a wooden dowel down the center of the finished cake can also provide internal stability.